Movie Studio 2024
Video editing for everyone
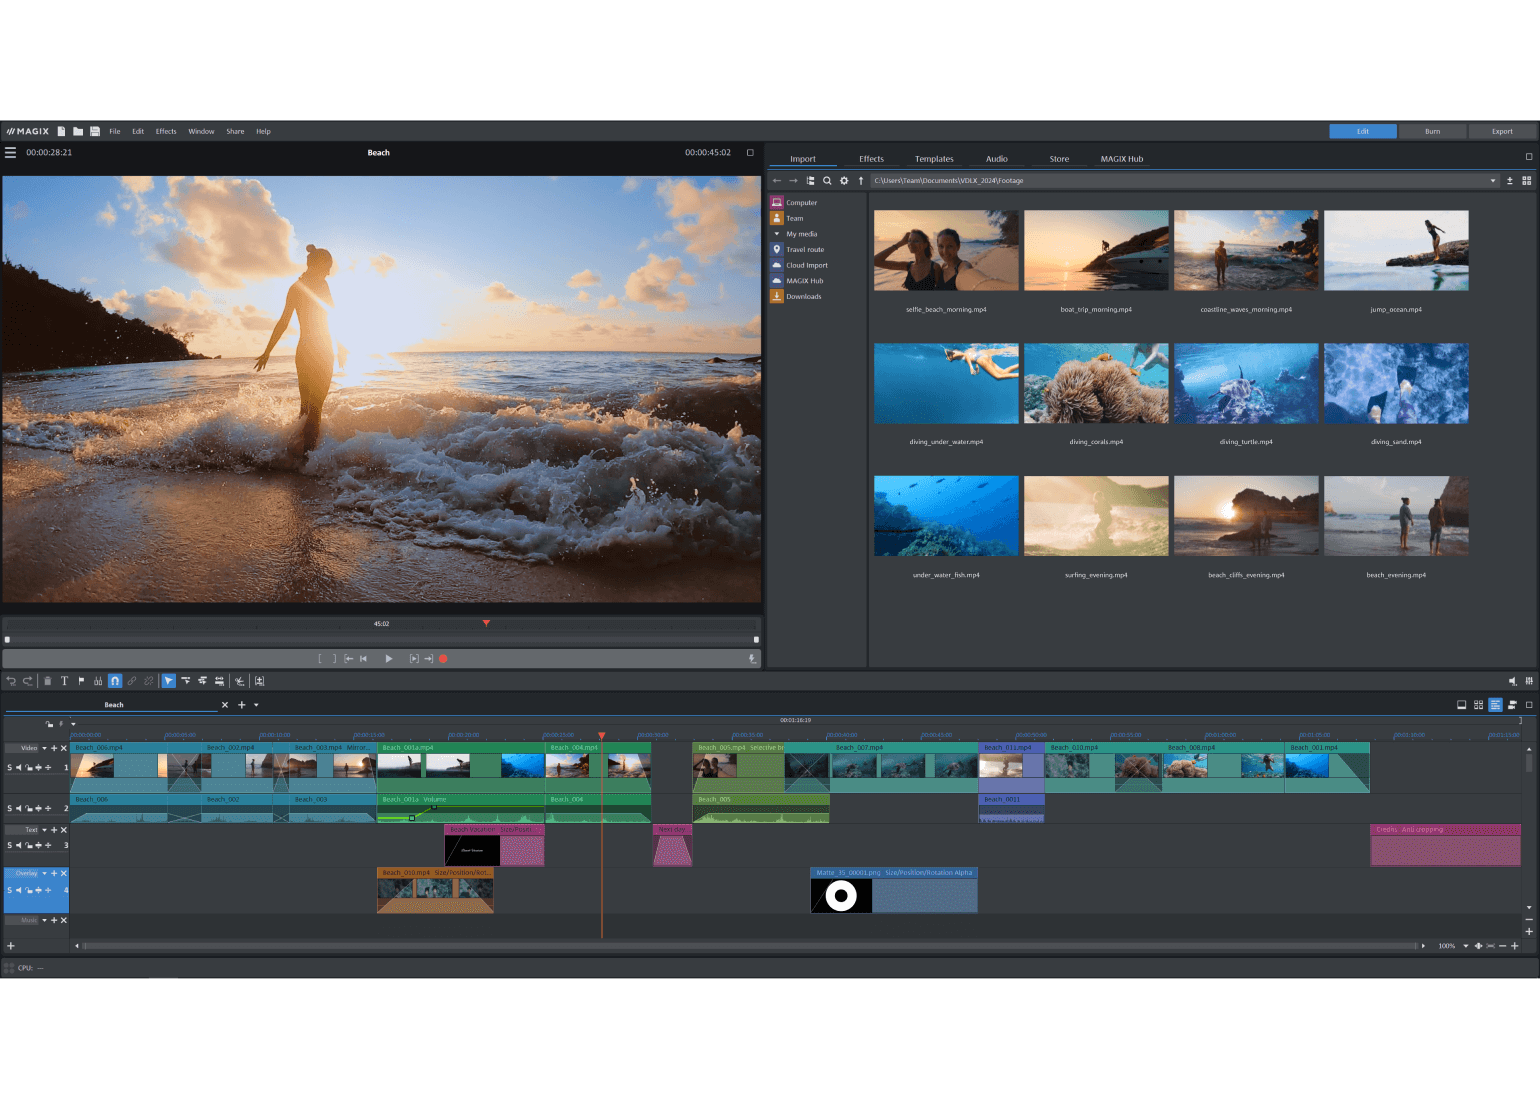
Today, you can use any smartphone to edit videos. But if you want more options and a better overview, there's no beating a good editing solution on your desktop PC. With Movie Studio 2024's tidy interface, you can arrange a wide variety of file types from all kinds of sources simply by using drag & drop. Turn footage from your phone, professional camera or any other device into movies in a flash, on any Windows PC!

Easy-to-use, fast and intuitive
Get impressive results fast


Relive your adventures in pictures
Storytelling made easy - the Storyboard feature lets you arrange clips in no time at all.
Pro tip: Use the 3 key-based shortcuts to get the editing results you want even faster. You can adjust the volume of individual clips with a single click.

Tons of content
With a subscription to MAGIX Content, you get access to a limitless selection of royalty-free HD music, sound effects, stock footage and animations. Download up to 10 files every month for permanent use. You'll find exactly what your project needs right here!
Available exclusively with your subscription
Everything you need
Your toolkit
Just the right colors
Enjoy footage that's more lifelike than ever before. Use the versatile deep color correction to get the most out of your material, create a one-of-a-kind mood, and showcase each and every scene.
Use Lookup Tables to give movie sequences from different sources the same look.
Creative effects, endless possibilities
Presets provide the guidance you need right from the start, and all effects can be fully customized afterwards. For example, you can use keyframe animations to selectively shape the intensity and duration of your effects, as well as combine multiple effects within a clip.
Chroma key

Picture-in-picture
Lightning fast playback and ultra slow-mo
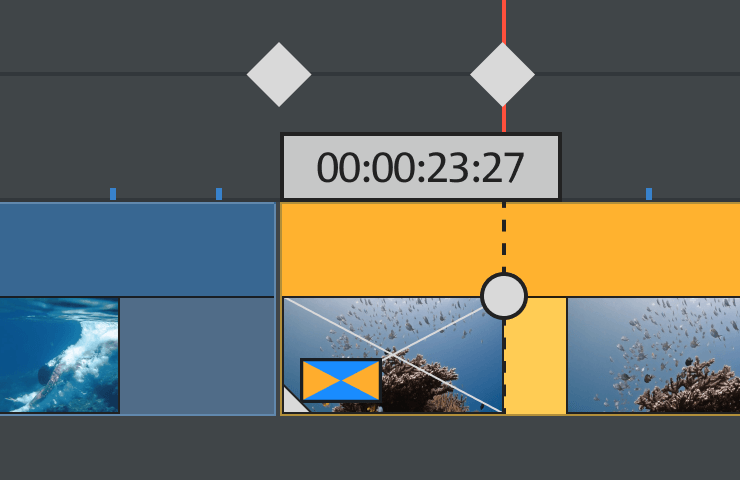
Tension, suspense, and drama – enjoy unimagined creative possibilities by changing the speed of video playback and using high-quality slow motion effects. With just a few clicks, you can turn your favorite footage into a stand-out moment in your movie.

Impressive titles and text
Showcase your pictures exactly how you want, with professional titles and animations. With plenty of templates and easy-to-use tools, telling your story is a breeze.
Pro tip: You can pin text to any object so that it moves with the object as you arrange your movie.
Create audio commentary at the touch of a button
Want to make high-quality audio commentary without having to record your own voice? Subscribe now to get access to the Text-to-Speech Wizard. Transform text into realistic speech with the help of AI - a couple seconds is all it takes.
Available exclusively in your subscription

Tons of options, total focus
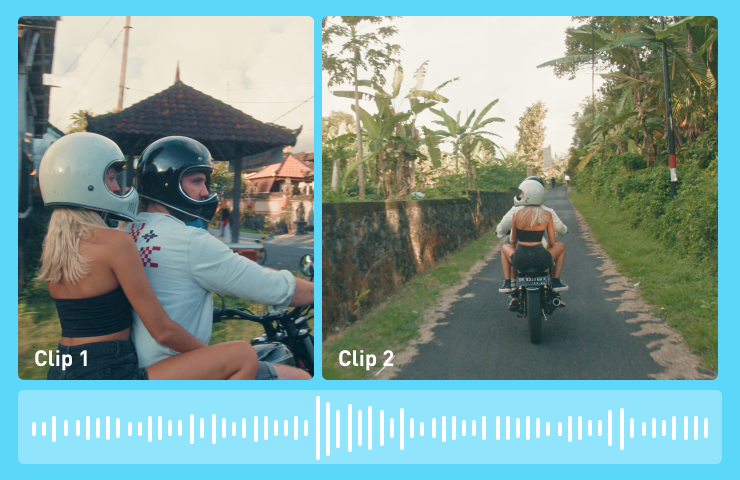
Take your movies to the next level with multicam footage: In Movie Studio 2024, footage from multiple cameras is joined together fully automatically.
All this is made possible by the powerful INFUSION Engine 3, which also enables fast rendering and smooth playback.


Video editing made for any PC
From entry-level devices to high-end workstations, Movie Studio 2024 lets you get the most out of your hardware and work smoothly on any setup. There's no need to make expensive new purchases, and you can get started right away!

700,000 satisfied users
3 reasons why Movie Studio is so popular

"I love Movie Studio because it lets me be creative, and I can make videos in a matter of minutes."
MAYRA JOANN
(YOUTUBER)

"To me, Movie Studio means freedom. It lets me produce videos easily no matter where I am.
VICTOR
(INFLUENCER)

"I have been using Movie Studio since 2005, and since then I have seen many improvements based on user requests."
GEORG
(PHOTOGRAPHER AND VIDEOGRAPHER)
Select a version

Movie Studio
Ultimate
Everything you need to edit your videos, plus 12 professional plug-ins for every purpose: effects, fades, color correction, and more. Get the all-in-one package!


Movie Studio 2024 Platinum
- Up to 1,500 effects, titles, templates and transitions
- In-depth color correction
- Accelerated export thanks to Intel, NVIDIA and AMD support
- A wide range of editing tools, including multicam editing for 4 cameras
- Travel route animations with MAGIX Travel Maps
- Automatic shot match
Exclusively in Movie Studio Platinum 365:
- Access to 1.5 million Storyblocks contents (video & music)
- Text-to-Speech
Upgrade: Movie Studio 2024 Platinum
- Up to 1,500 effects, titles, templates and transitions
- In-depth color correction
- Accelerated export thanks to Intel, NVIDIA and AMD support
- A wide range of editing tools, including multicam editing for 4 cameras
- Travel route animations with MAGIX Travel Maps
- Automatic shot match
Exclusively in Movie Studio Platinum 365:
- Access to 1.5 million Storyblocks contents (video & music)
- Text-to-Speech
Movie Studio Platinum 365
- Up to 1,500 effects, titles, templates and transitions
- In-depth color correction
- Accelerated export thanks to Intel, NVIDIA and AMD support
- A wide range of editing tools, including multicam editing for 4 cameras
- Travel route animations with MAGIX Travel Maps
- Automatic shot match
Exclusively in Movie Studio Platinum 365:
- Access to 1.5 million Storyblocks contents (video & music)
- Text-to-Speech


Movie Studio 2024 Suite
- Up to 1,500 effects, titles, templates and transitions
- In-depth color correction
- Accelerated export thanks to Intel, NVIDIA and AMD support
- A wide range of editing tools, including multicam editing for 4 cameras
- Travel route animations with MAGIX Travel Maps
- Automatic shot match
- proDAD VitaScene V5 Pro
Exclusively in Movie Studio Suite 365:
- Access to 1.5 million Storyblocks contents (video & music)
- Text-to-Speech
Upgrade: Movie Studio 2024 Suite
- Up to 1,500 effects, titles, templates and transitions
- In-depth color correction
- Accelerated export thanks to Intel, NVIDIA and AMD support
- A wide range of editing tools, including multicam editing for 4 cameras
- Travel route animations with MAGIX Travel Maps
- Automatic shot match
- proDAD VitaScene V5 Pro
Exclusively in Movie Studio Suite 365:
- Access to 1.5 million Storyblocks contents (video & music)
- Text-to-Speech
Movie Studio Suite 365
- Up to 1,500 effects, titles, templates and transitions
- In-depth color correction
- Accelerated export thanks to Intel, NVIDIA and AMD support
- A wide range of editing tools, including multicam editing for 4 cameras
- Travel route animations with MAGIX Travel Maps
- Automatic shot match
- proDAD VitaScene V5 Pro
Exclusively in Movie Studio Suite 365:
- Access to 1.5 million Storyblocks contents (video & music)
- Text-to-Speech
Movie Studio 2024 Ultimate
Exclusively in Movie Studio 2024 Ultimate:
- proDAD Defishr V1
- proDAD HIDE V1 (1-year license)
- proDAD DISGUISE V1
- proDAD Mercalli V6
- proDAD ReSpeedr V1
- NewBlue Filters 5 Refocus
- NewBlue Stylizers 5 Illuminate
- NewBlue Filters 5 Recreate
- NewBlue Filters 5 Recolor
- NewBlue Stylizers 5 Cartoonr Plus
- NewBlue Essentials 5 Ultimate
- Stellar Repair for Video Premium (1-year license)
Try it now for free
FAQs
What can Movie Studio do?
Is Movie Studio free to use?
MAGIX offers a free 30-day trial version of Movie Studio. The trial version only lets you create videos up to three minutes in length, but this is more than enough to try out all the features. Click here to download the trial version.
What are the system
requirements for Movie Studio?
Movie Studio is designed with user-friendliness in mind, so all of the basic features run smoothly and can be fully operated on any machine, including low-performance computers. You can view the minimum system requirements, as well as recommended requirements for a selection of advanced program features, under specifications.


