We've all been there before. Filming busy events can often leave you with shaky footage, long sequences of unwanted footage and shots that just didn't turn out that great. Here are 3 easy steps to help you get rid of the footage you don't want and turn the rest of your shots into an amazing movie. The quick and easy way — with the award-winning video cutter software MAGIX Movie Edit Pro.
1. Install the software for free
and start cutting video right away
- Download your free 30-day trial version of Movie Edit Pro right here
- Follow the on-screen instructions
- Open the program and start cutting videos the fast and easy way
2. Cut videos in a matter of minutes
Easily cut video in a matter of minutes without any editing tools. But how? Simply open the program and import only the scenes you want to use. This is the fastest and easiest way to cut out the footage you don't want.
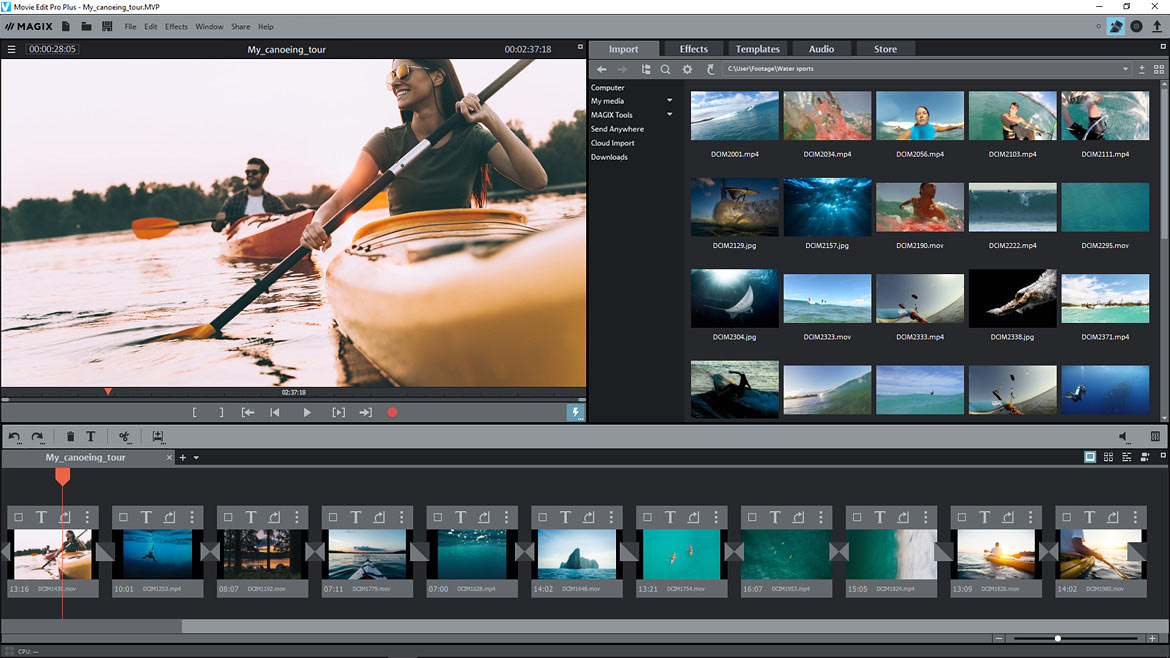
To import clips, just drag and drop them onto the program interface from any storage device, camera, smartphone or hard drive. Movie Edit Pro also comes with a handy import feature which lets you select footage for editing as soon as the software opens. The import feature works the same for all devices, from smartphones and digital cameras to DSLRs. And all standard formats are supported.

Fully automatic video editing
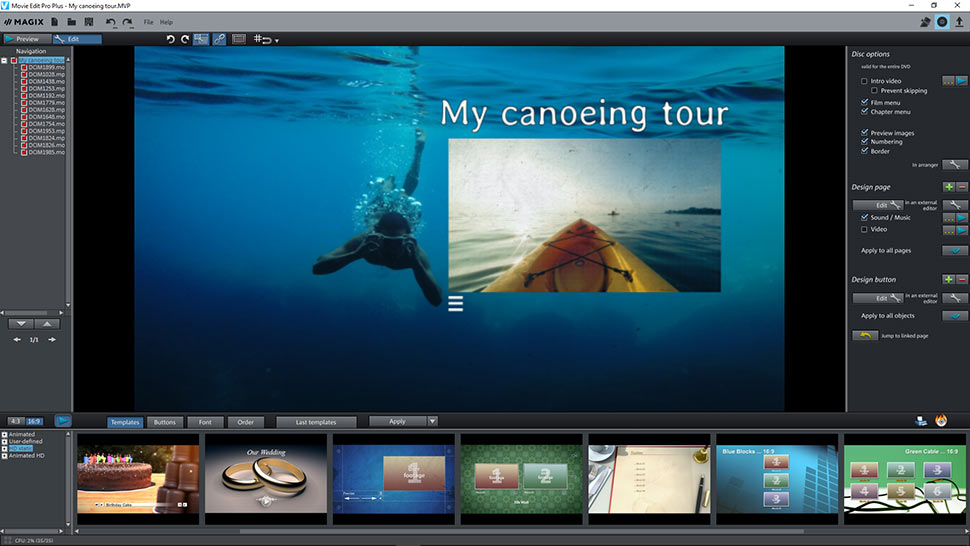
Sit back, relax and let the software handle everything! Movie Edit Pro is the only software that provides completely automated video editing — complete with matching music and title animations! Simply open the "Templates" section and choose the editing or movie template you want to use. Then drag and drop your footage onto the template and sit back while Movie Edit Pro transforms it into a finished movie. Perfect for quickly cutting together multiple videos or creating a solid foundation to work from for manual editing.

Everything you need to cut amazing videos
Movie Edit Pro gives you all the tools you need to cut the perfect movie. You won't find an easier way to edit high-quality videos in nearly any other program.
To get started use Movie Edit Pro's simple and intuitive Storyboard mode. All your footage is laid out here in order, so it's easy to find what you're looking for and starting arranging everything into scenes. To cut your video, drag the red start marker onto the beginning of a sequence of footage you want to get rid of. Then, click the scissors icon to cut the sequence. Now, place the marker at the end of the footage you want to remove and click the scissors again. The unwanted sequence has now been isolated from the rest of your footage and can be easily tossed out by clicking the trashcan icon.
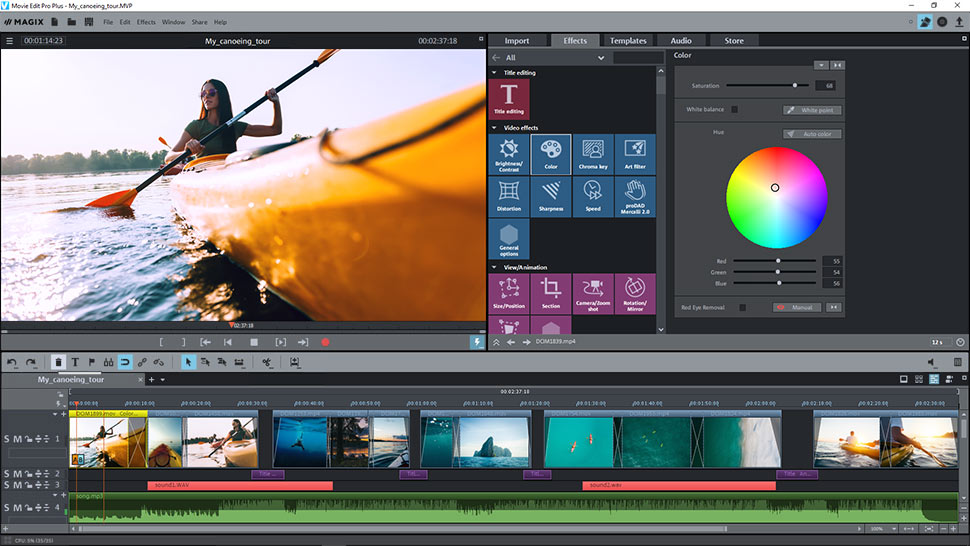
If you're ready to move beyond simple cutting and arranging and want to turn your footage into an impressive movie — complete with its own soundtrack, intros/outros, transitions and amazing effects — switch to Timeline mode. Check out our video editing article for the best tips and tricks for using Timeline mode.

3. Export your finished movie
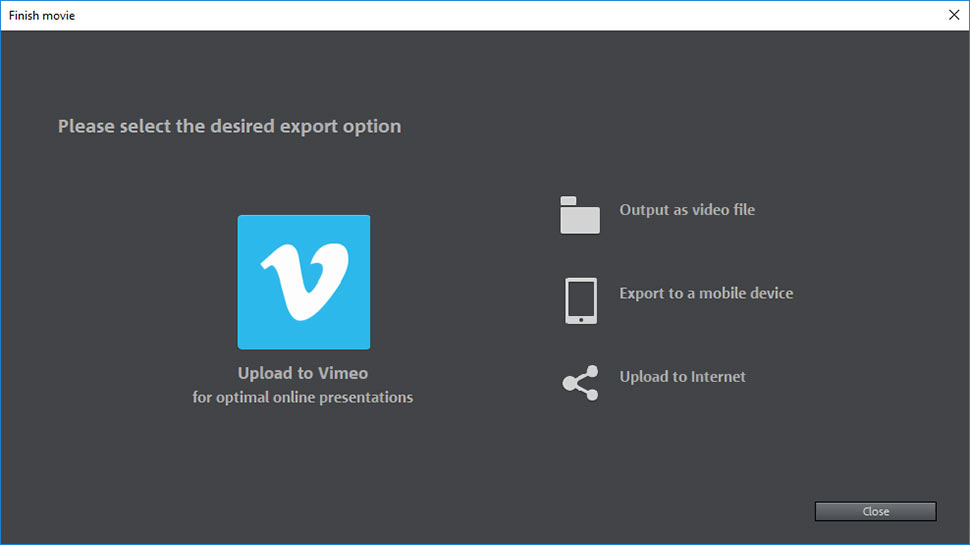
Once your project is finished, the last thing you always need to do is export the movie. Movie Edit Pro's quick access buttons let you do this in a matter of clicks. Want to create a DVD? Simply click the DVD icon. To save the movie to your hard drive, or to transfer it directly to your smartphone or post it online, click the Export icon next to it. You can also choose between different quality levels and formats such as the popular MPEG-4 format.
Movie Edit Pro also supports the cutting-edge HEVC format for impressive picture quality and reduced file sizes. To use these and the many other export options available in Movie Edit Pro, go to "File" > "Export movie".

What's the difference
between linear and non-linear editing?
Linear editing is a type of video editing which is performed using an editing control unit. The video signal is copied from a source — often a magnetic storage medium — to a destination. The magnetic storage medium (e.g. a magnetic tape) contains an electronic analog or digital recording of some audio/visual content. The editing control unit is used to coordinate multiple video sources and recorders in an editing suite and is often used in television productions. There are two methods used in linear editing: insert editing and assembly editing. In assembly editing, it is not possible to edit picture and sound separately, which makes it particularly challenging. Linear editing comes with other disadvantages, too: Before the introduction of digital formats, generation loss (the loss in quality with each subsequent copy) was an ever-present issue. Another problem with linear editing is that unwanted sequences of video have to be replaced with clips which are the same length, since the replaced footage is overwritten by the inserted clip. This is why linear editing is now often considered to be outdated.
Non-linear editing is performed on computers using video cutter software and hardware such as video editing keyboards. The video signal is first saved to the computer's hard drive. If the signal is analog, it is digitized before being saved. Using digital copies during the editing process means that the original video is not overwritten as changes are made. This method is similar to opening a text file in a word processor. It wasn't until this editing method was introduced in the early 90s that people started using the term "linear editing" to distinguish the two approaches. There are two non-linear editing processes performed in post-production: offline editing and online editing. In online editing, the source material is digitized at the highest possible quality level and then cut onto the master, which is the main "tape" that's copied and reproduced. Since offline editing uses lower quality digital copies, the project can be edited all at once, and the sound and picture can be edited separately, which is especially useful on motion picture productions.
You can easily use the techniques shown with Movie Edit Pro yourself. The video editing program helps you to realize your video project thanks to intuitive operation and helpful functions.
Try it now for free
