The best way to use depth of field in photography
You can really draw the viewer's gaze by using selective focus. That's why depth of field is one of the most interesting effects in photography. In the following, we'll show you the right way to use this effect in order to get great results.
Definition of depth of field
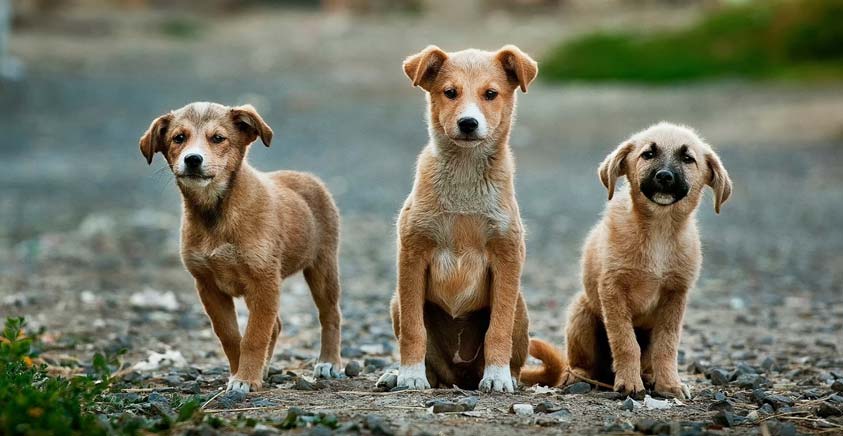
Depth of field – or depth of focus, to be technically correct – refers to an area that stretches in front of and behind a focus point in a space. Aperture opening, focal distance and distance from the subject all affect the size of the depth of field. Exposure time, on the other hand, does not affect depth of field.
On a semantic level, the terms "depth of field" and "depth of focus" are identical. They both describe the depth of an image area that has been focused. Depth of focus is the official technical term, while depth of field is used to describe blurring in deeper, far away image areas. Blurred image areas like these can't be created with every camera, however.
Depth of field can often be used to tell images shot by an SLR camera apart from ones made by a simple digital camera. The smaller the sensor, the shorter the focal length that must be used to achieve optimal image quality. A shorter focal length means that smaller cameras have less to offer in terms of selective focus than an SLR.
Crisp, clear images
Landscape photography usually contains images with a large focused area. The technical effects you need to select for these kinds of images are:
- Set the diaphragm: A narrow aperture or larger f-stop
- Zoom out: The shortest possible focal distance, wide-angle lens tendency
- Distance: Position yourself a relatively large distance from the subject
Make sure that distance and focal length do not cancel each other out in terms of depth of focus when you want to shoot a subject to a certain image scale. After all, you'll have to move further away from the subject if you're shooting with a telephoto lens. This increases focal distance along with spatial distance, while depth of field remains the same.
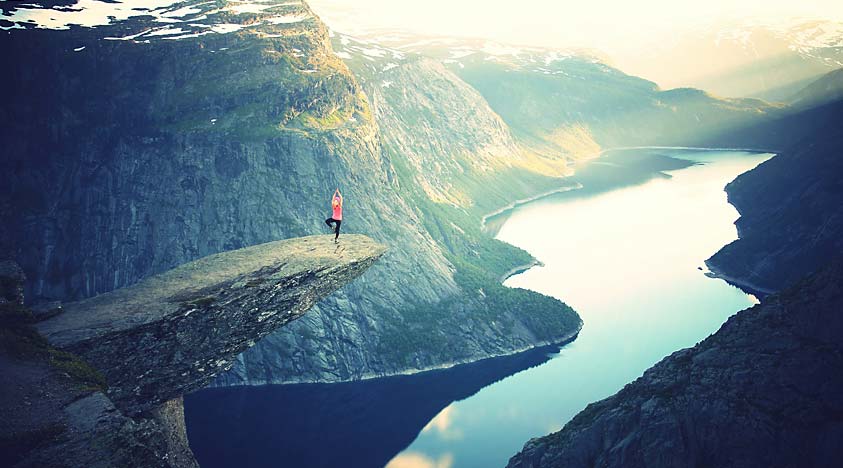
However, something else happens in the process - a varying focal length with consistent image scale modifies the distance between objects in the image. With a wide angle, image elements appear further apart, while spaces appear larger. With a greater focal length, this effect is reversed. You can make distances appear smaller. By doing so, a background enlarged with telephoto lens will appear more blurry.
Using selective focus as a design element
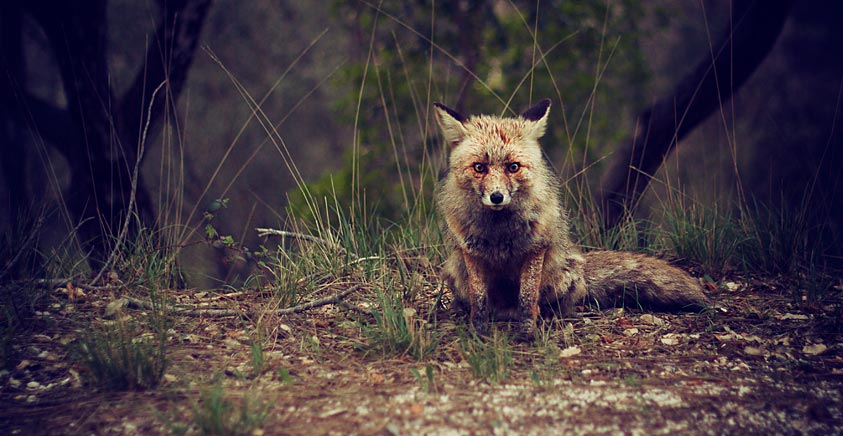
And it's this blurred effect that makes an image interesting. In photos with selective focus, only the actual subject appears sharp. The area on which the camera is focused is the focal plane. Also, depending on the settings for diaphragm, focal distance and distance to subject, the sharpened image area is stretched slightly in front of and behind the focal plane.
However, foreground and background are visibly blurred. This design element draws the gaze and also mirrors what the human eye perceives.
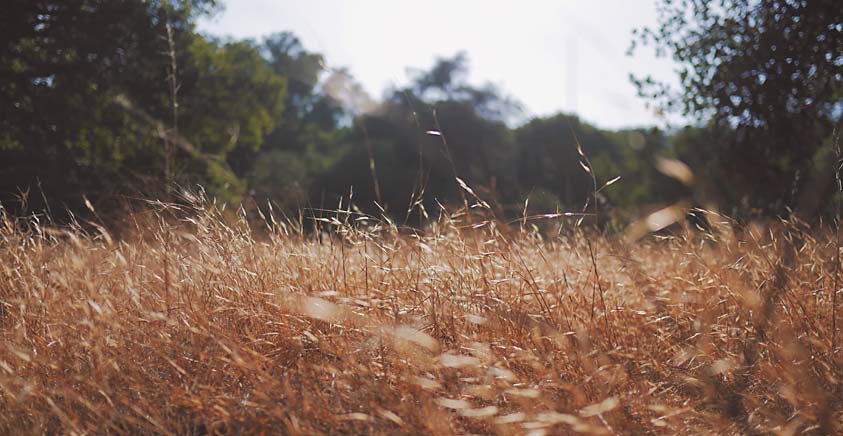
Greater spatial depth is beneficial for the image. It's also possible to add in foreground that won't distract from the subject of the photo due to its blurred quality. In the example image here you'll see how selective focus creates the impression that you're in the middle of the field.
Not all types of blur are created equal.
What's the Bokeh effect?
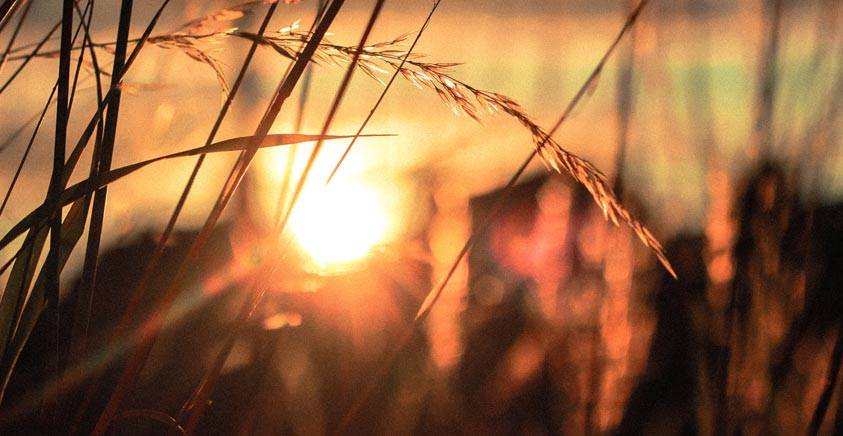
Light and the lens are factors that determine how blurred an image area will appear. With diffuse light, like on overcast days, blurred image area outlines are simply smoothed out. When there are brighter lights within a relatively darker range - like you might capture on sunny days in a forest - this creates circles of confusion outside of the focus plane.
It's the shape of the diaphragm, i.e. whether it's angular or square, that determines the form of the blur circle. Similarly sized, round circles can provide really aesthetic pleasing results. Bright halos around the circles, forms that are too angular or circular lines are all less desirable.
The word Bokeh is the Japanese for "blur". Even if you've never noticed this effect before, it plays an important role in that it influences the impact of an image and can help you decide which lens is best for your needs.
In Bokeh images that are fully blurred, you can use special templates to add funny shapes e.g. little hearts to circles of confusion.
Retroactively creating blur with image editing
If you forgot or weren't able to apply depth of field at the time you took the photo, you can do so later with the help of software.
Using a picture editor like MAGIX Photostory deluxe, you can blur entire images and areas of images in a range of ways. This is not the same as a Bokeh effect with highlights, which turn into circles or polygons.
Classic blurring effects in picture editing software are used more for the smooth, even blending of neighboring image pixels. Everything simply becomes softer.
The word Bokeh is the Japanese for "blur". Even if you've never noticed this effect before, it plays an important role in that it influences the impact of an image and can help you decide which lens is best for your needs. In Bokeh images that are fully blurred, you can use special templates to add funny shapes e.g. little hearts to circles of confusion.
You can also add a bokeh effect toan image using MAGIX Photostory deluxe. Simplycreate a copy of the image and position the two images (original and copy)below each other on two tracks so that they overlap. Then, use the cookiecutter effect to create a circular picture section in the image copy for thebokeh and blur this picture section.
All told, depth of field is an extensive and pretty theoretical topic. It's best to try out different settings with your camera as that's more fun that reading about it. You don't need to apply depth of field to all your pictures – but it's good to know about effects like these when you're experimenting with photography.


