Creating video speed effects with Video deluxe Plus
– here's how!
- Open Video deluxe Plus and import the video files you want to use. All imported videos will appear as video objects in the timeline.
- Cut the video passage that you want to add a speed effect to. To do this, place the playback marker where you want to cut and click the Cut button.
- Open the "Effects" tab and select the effect "Speed". To create a time lapse effect, move the speed factor slider to the right; to create a slow motion effect, move the slider to the left.
- To add a speed ramp, open the keyframe animation tool and place an initial keyframe. Move the playback marker to another position and change the speed setting in the effect dialog. The program will add a new keyframe and calculate the change in speed between the two keyframes automatically.

Create video speed effects with Video deluxe Plus, the video editing program for ambitious movie makers:
- Slow motion
- Time lapse
- Speed ramps
- Keyframe animations for any imaginable speed transition
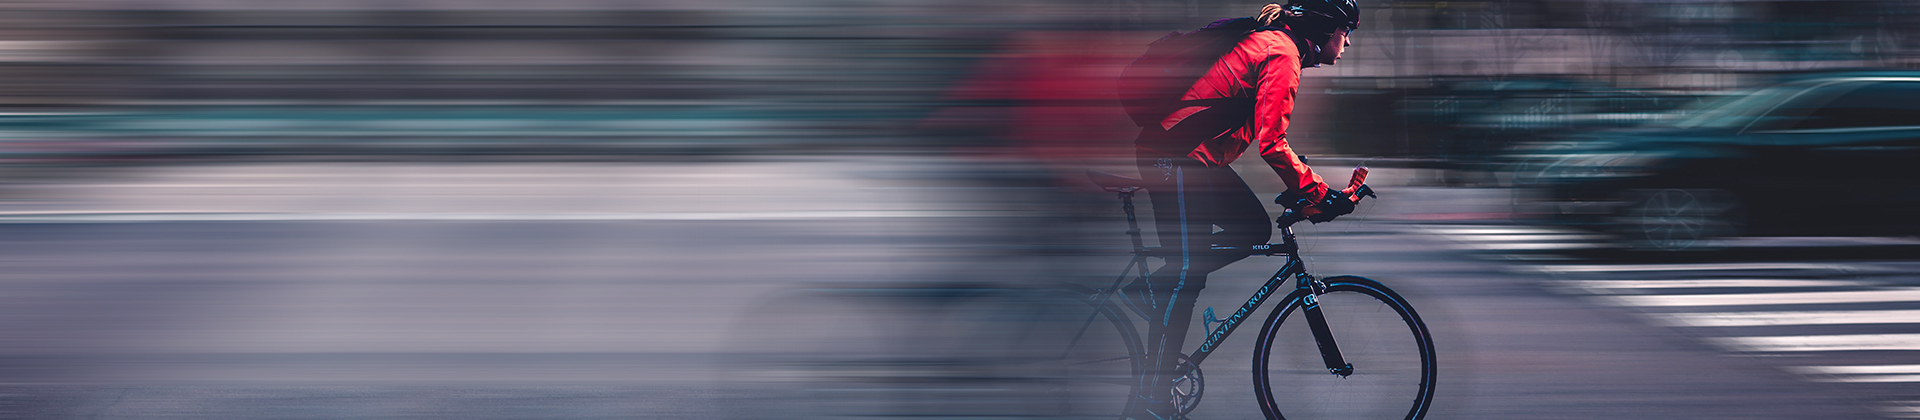
Video speed effects
Video speed effects are used all the time in video productions. As a viewer, it isn't always easy to tell when the playback speed has been changed to speed up or slow down the action. In some cases, though, time lapses and slow motion are used to create an effect which is obvious to the viewer.
Speed ramps are a particularly popular effect which can be used to dynamically change the speed of video. These work especially well in action scenes, where they can be used to turn fast-paced visuals into a brief slow motion sequence to focus on a crucial moment before allowing the action to continue at normal speed. This technique is great for highlighting key moments such as those in sports videos (e.g. when the ball hits the net or a skateboarder begins to make a jump).
Below, we'll show you step by step how to add more dynamism to your movies with the speed effects in Video deluxe Plus.

Applying speed effects
- Open Video deluxe Plus and import your video into the program by opening the Import tab in the Media Pool and navigating to the folder containing your video. Then, drag and drop the video into the program.
- To add a speed effect to a specific part of the video, start by cutting that part. To do this, place the playback marker where you want to cut and click the Cut button. The program will now treat the cut part as a separate object in the track.

Slow motion
- Open the "Effects" tab in the Media Pool and click on the "Speed" tile to open the dialog for speed effects.
- Click the video object that you want to apply the slow motion effect to.
- In the effect dialog, move the speed factor slider to the left.
You can also type in the factor number yourself. If you set the factor to a value less than 0.75, we recommend enabling the option "Interpolate intermediate images" to ensure that the video plays smoothly.
The slow motion effect will slow down the video. As a result, the video object will be extended to the right in the timeline. The adjacent objects in the timeline will be shifted to the right automatically.

Time lapse
- To create a time lapse effect, move the speed factor slider to the right.
You can also type in the factor number yourself.
The time lapse effect makes the video play faster. As a result, the video object will be shortened. The adjacent objects in the timeline will be shifted to the left automatically.

Dynamic speed control (speed ramp)
Lastly, we want to show you how to dynamically control the playback speed using "speed ramps".
- Position the playback marker where you want the speed ramp to begin.
- Open the keyframe animation in the Media Pool and add an initial keyframe.
- In the keyframe animation, move the playback marker to the right to the position where you want the slow motion sequence to begin.
- Move the speed factor slider to the left to adjust the speed of the slow motion sequence. The program will automatically add a second keyframe where the playback marker is positioned.
- Move the playback marker further to the right to where you want the slow motion sequence to end. Here, place a third keyframe manually. Do not change the speed factor.
- Then, move the playback marker even further to the right where you want the movie to return to normal speed. Double-click the speed factor slider. The slider will jump back to the default position (1.00), and the program will automatically add a fourth keyframe.
Play the sequence to check how it turned out. The speed transitions between the keyframes are calculated automatically by the program. In the resulting sequence, the video is slowed down until playback reaches the end of the first speed ramp. Then, the slow motion sequence begins. Between the second-to-last and last keyframe, the speed is gradually increased.
Once you've understood how this principle works, you can use speed ramps to create any kind of speed transition you want.


