Oktober 10, 2017
Object tracking in Movie Edit Pro
Familiar with this problem? You've made a great beach video on your vacation and want to share it on YouTube. But people you don't know can be seen clearly in the background. You can't publish this footage without their permission, as this would infringe on their personal rights. But how do you obtain permission when you don't know who they are? The same issue arises when you've been filming on a street and have captured the license plates of passing or parked cars. As the plates can easily be linked to the vehicle owner, you can't publish these recordings either.
However, this doesn't mean that you can't use your videos! Here we'll explain how to blur content in your videos with the improved object tracking in Movie Edit Pro 2019.

Distorting content in your video
Removing unwanted elements and blurring faces and objects in photos is easy. Since objects and cars in videos are usually moving, it's important that the blurring effect (such as a black rectangle or pixelation) moves with them.
With the help of improved object tracking, you can pin image objects to moving content in your video . The pinned object automatically follows the movement of the content you've selected.
This is how it works:
- Place the video you want to edit in the timeline. For longer takes, you can add in two cuts to isolate the area you want to edit. This helps speed up editing.
- Now add an image object to the track below.
- Tip: If you want to use a black rectangle, use the template available from "Effects" > "Design elements" > "Image objects" > "Deco".
- Alternatively, you can add colorful backgrounds and customize their shape and size. (You'll find this option under "Design elements" > "Backgrounds".)
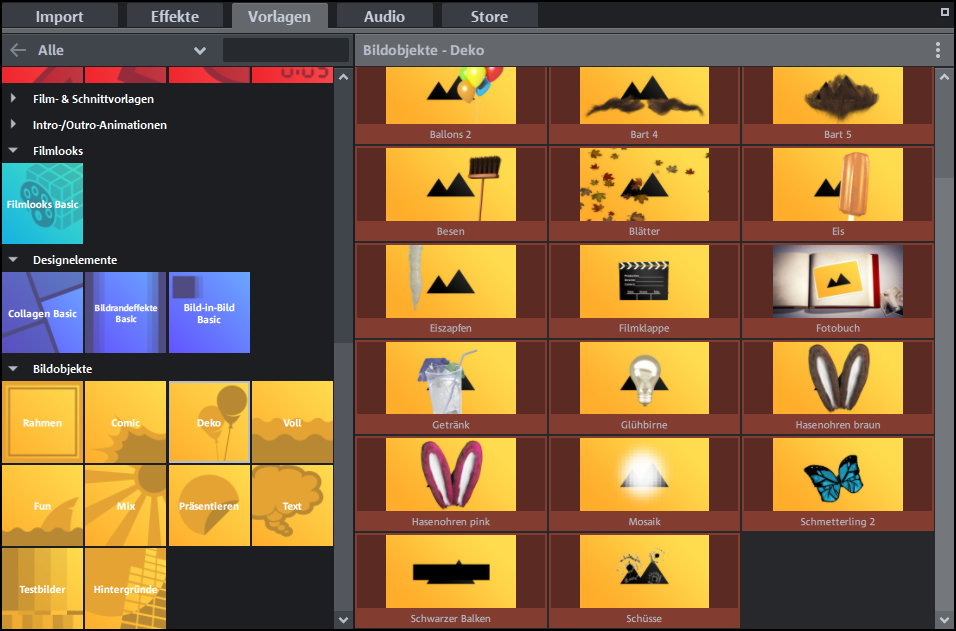
- Important: Before pinning an object to a location in the video, you need to adjust its position and size
("Effects" > "View/Animation" > "Position/Size"). Drag the black rectangle or pixelation to the size you want and move it to the right location in the preview monitor with the mouse – for instance a person's eyes or a license plate.
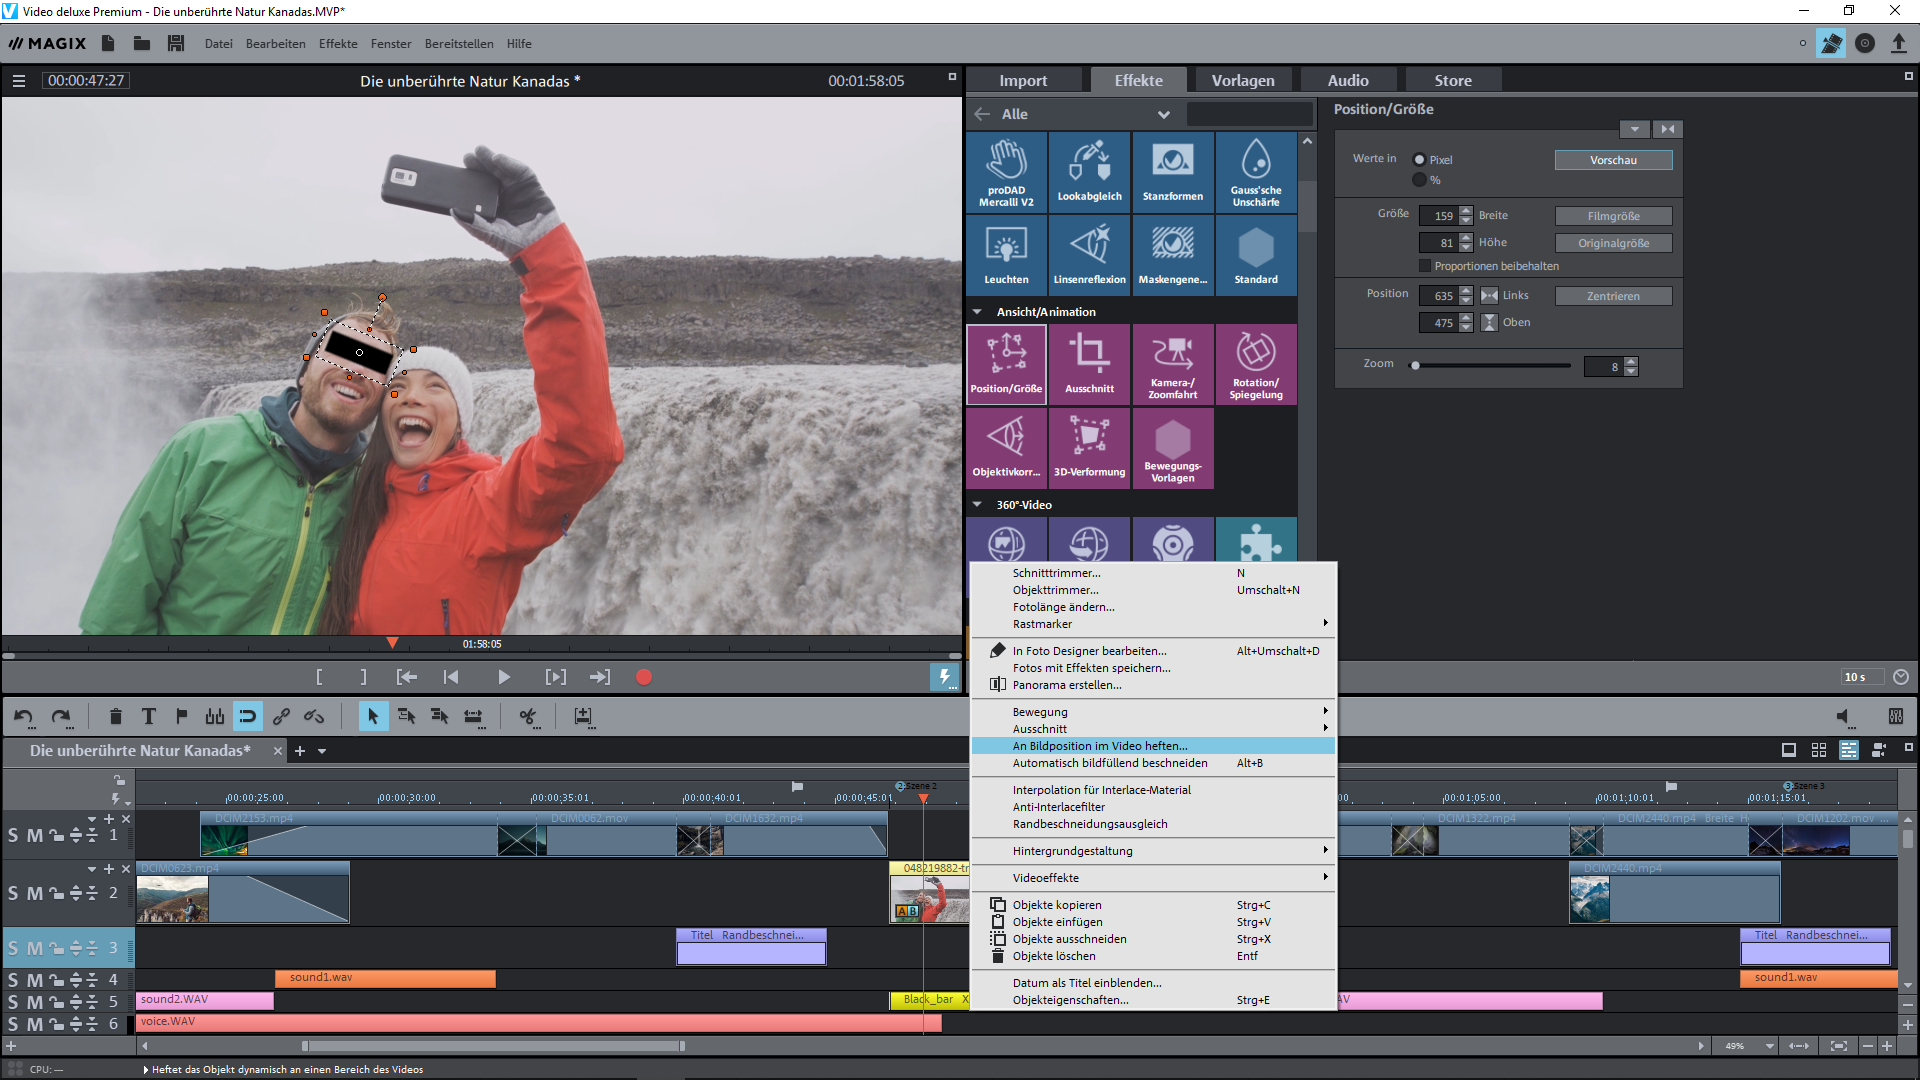
You will then be asked to select the moving content in the video (the person's face or license plate) with the mouse by dragging a frame around it.
- The animation for the image object is then calculated and saved automatically.
- To reposition the image object, repeat this process until you're satisfied with the result.
- Play your video to see the newly created effect in action. Repeat these steps for other parts of your video that you want to edit.
Instead of using black rectangles or pixels, you can animate many other objects in the same way and add funny beards, glasses or thought bubbles. You can pin all sorts of objects in one video.
Title animations
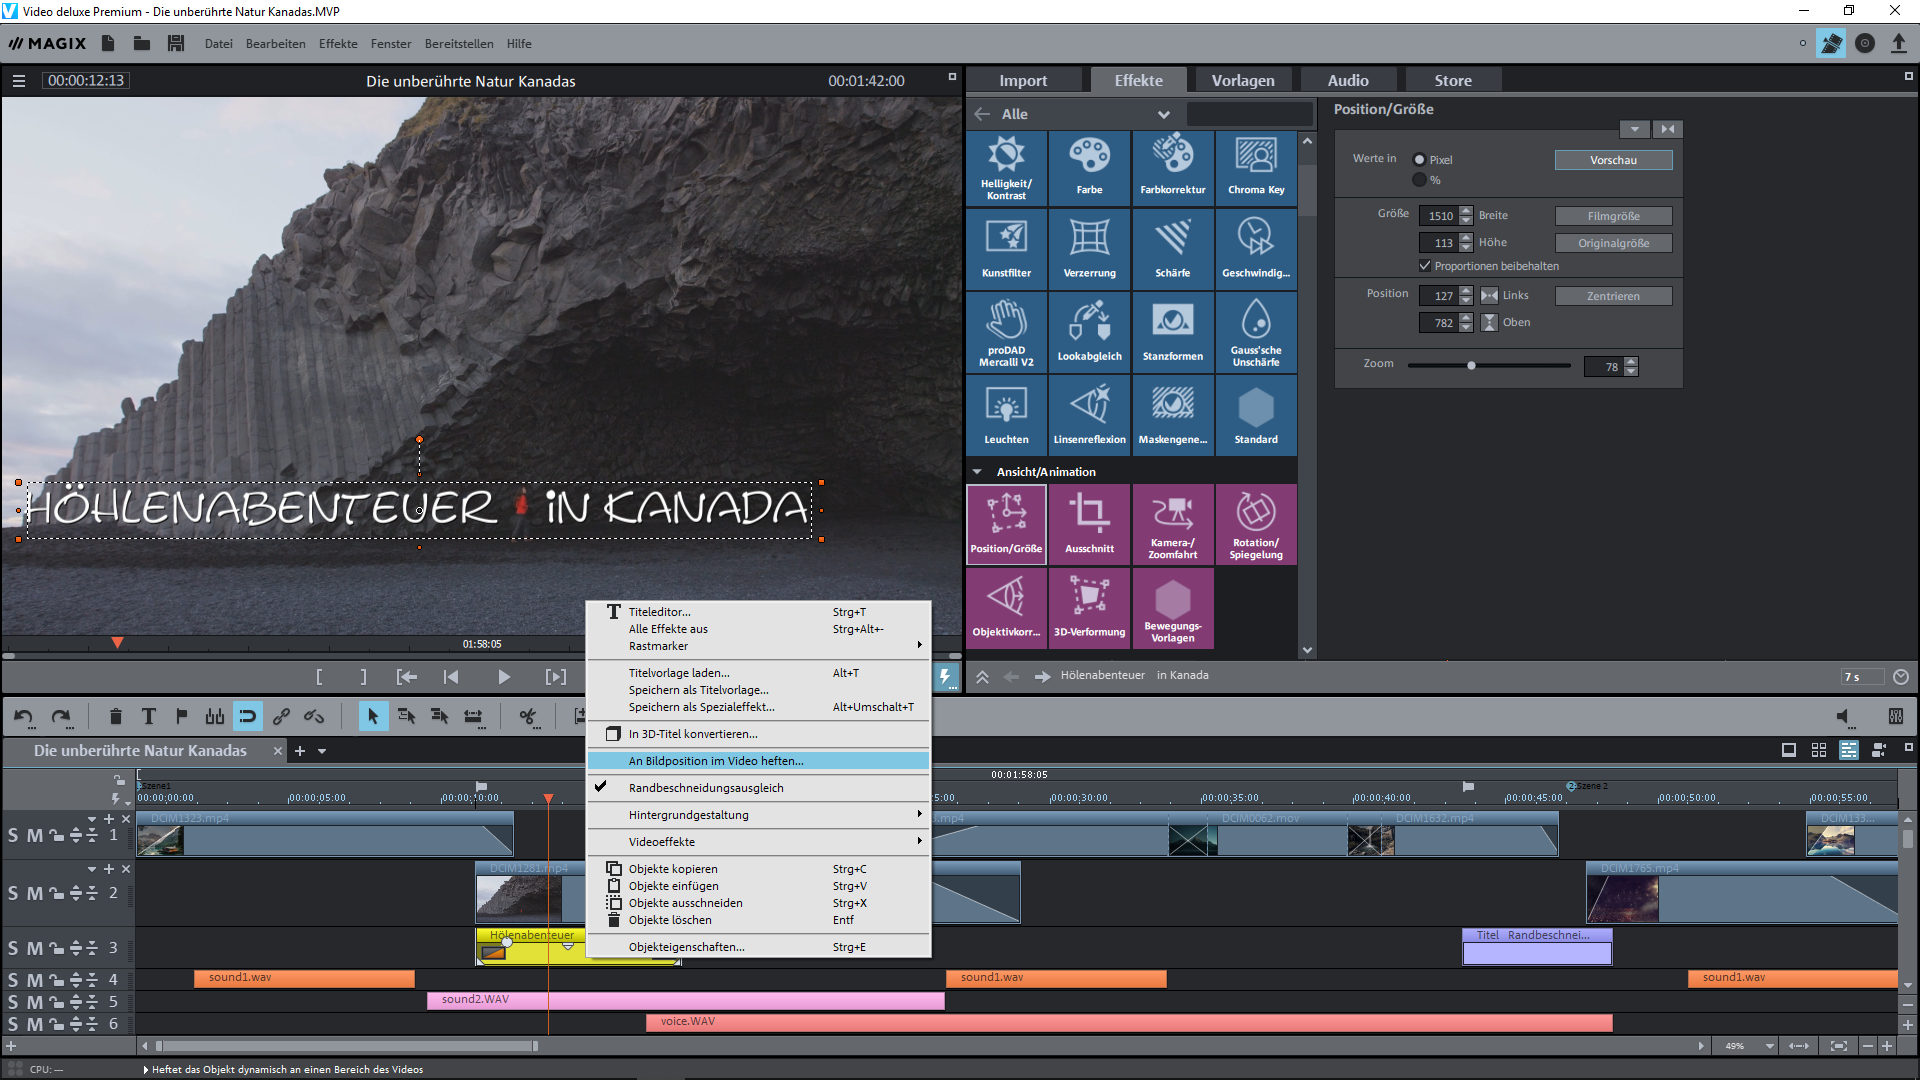
You've probably seen titles pinned to a person's shoulders in films - or more likely in documentaries. Object tracking can be used in the same way. Simply add a title object in the timeline under your video.
After you have adjusted font and color, set the position and size with the mouse by pulling the title into the preview monitor. Continue as above to pin the title to the image content.
Want to try out object tracking for yourself?
Get a free test copy of MAGIX Movie Edit Pro 2019 now!
Have fun!
Next Post >
Artist Interview: Pawel Piatek
< Previous Post
The man behind the multicam: Eckhard Stoll
Related Posts
Legal issues when filming: Shooting permits, copyright & more
Shooting permits and copyright – everything you need to know about legal issues on set you can read in this article.
Artist Interview: Pawel Piatek
Fine art photographer and videographer, Pawel Piatek, talks with us about his art using MAGIX Movie Studio and Video Pro X.
The man behind the multicam: Eckhard Stoll
Movie Studio is a complete video editing solution that combines professional features with intuitive operation.
Movie Studio celebrates its 20th birthday!
Happy Birthday, Movie Studio! We're celebrating 20 years of first class effects, user friendly workflows, and creative approaches.
