28 January 2022
How to Prepare for Videos Properly:
Storyboard, Shooting Schedules, and Equipment

Whether it's from your travels, a birthday or outdoor activities, a little preparation can take your videos to the next level. Learn how easy it is to prepare a storyboard even without any drawing skills, and why screen tests and a shooting schedule can be a huge help.
1. Location, Location, Location: Test Footage
No matter what occasion you are shooting, it's best to test the lighting and sound situation on location in advance. Ideally, you should even visit the location before the actual event takes place – and if you can do that at the same time, it's even better. If that's not possible, it's a good idea to make test shots shortly before the actual shoot starts. This will make it easier for you to find the correct camera settings and pans. Of course, there are also digital aids: The website sonnenverlauf.de shows the position of the sun on a map depending on the date and time. Tip: Test footage is ideal for use as cutaways in video editing.
2. Timetable: What, When and Where
A schedule specifies when which material can be shot and when which equipment is needed where depending on the lighting and sound conditions at the location. It's not a minute-by-minute timetable, but simply a way for a cameraperson to roughly understand what's going to happen, when and where, in order to organize themselves and the equipment accordingly.
Is the subject of the video a celebration or an event? Then, it would make sense to find out whether certain locations are off-limits for filming or, conversely, to find special locations that can only be entered for filming. It's also a good idea to make sure that filming with a drone, for example, does not require a permit for filming.
3. Construct Stories: The Storyboard
Is your wedding video as long as all of the festivities on the big day? That's just as boring as a movie that's as long as the vacation. A good video tells a story, is entertaining, has variety and is straightforward. That's why it can be helpful to create a storyboard before you start filming. The idea behind a storyboard is to identify the key moments that will engage the audience and is sketched out like a comic book. By thinking about each scene or shot in advance and considering which shots you'll need, you can save a lot of time when editing the video later.
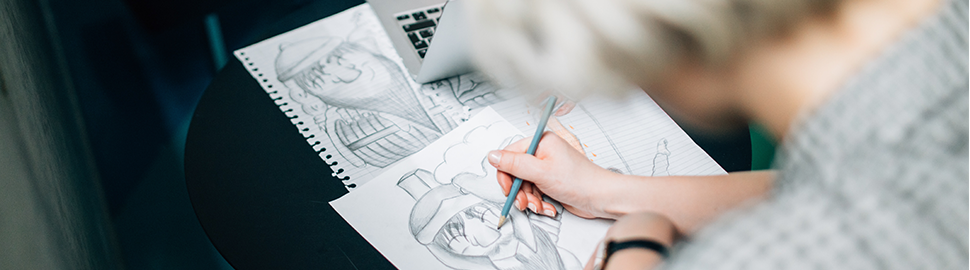
Step-by-step to a storyboard
A simple storyboard is quickly drawn by hand – after all, it's not a work of art, it's a practical storytelling tool. Simply draw a row of rectangles on a sheet of paper with a pencil and ruler. It's possible to find pre-prepared sketch pads in a well-stocked hobby or stationary store. If you would rather work digitally, then you can use online services such as www.storyboardthat.com, PowerPoint, Amazon's Storyteller or any image editing program. Tip: There are 40 professional storyboard templates available at www.templatelab.com.
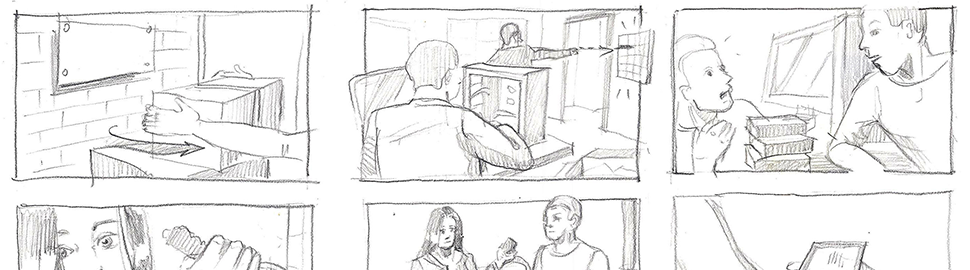
Whether digital or on paper, each rectangle represents a key scene. Imagine that what you see in the rectangle is what you're looking at through the camera. What would you see? Whenever what you would see changes in a way that is relevant to the progress of the story, start to fill in a new rectangle with a sketch. Storyboard sketches don't have to look like a professional drawing; they're merely a guide for filming and editing.
For each box, it's helpful to note the most important information to get the most out of each key scene: What is the light like? What's in the foreground and background? How is the image framed and what is the color spectrum? Which angle will be used for filming (e.g. wide angle, close-up, an over-the-shoulder shot, etc.)? Which props are needed? Who is in frame? Which special effects will be used? Which editing technique will be used to lead into the next scene? Will there be any background music for the shots? Will a sound effects need to be recorded?
4. From a Storyboard to a Shooting Schedule
The storyboard provides a "shot list" from which you can derive a shooting schedule. A shooting schedule is a list of the most important settings, i.e. a set of instructions of what to record. Be sure to include close-ups: For example, at a concert, these might include close-ups of hands moving over the strings of a guitar, or a foot stepping on a pedal. In addition to these shots, it's also important to consider medium shots of the musicians. Changing shots and angles will make any film look more dynamic in the end.
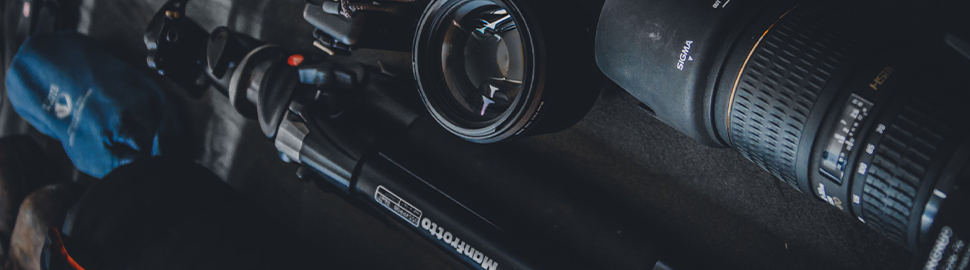
5. From the Shooting Schedule to Equipment
Even though it's possible to create stunning footage with just a smartphone these days, a little basic hardware is a nice addition to your personal film production. Along with additional cameras, we recommend a tripod, a microphone with a windscreen and pop protection, as well as LED daylight lamps. Most importantly, don't forget to bring spare batteries, cables, and sufficient memory cards. There is nothing more annoying than having to end your shoot because the batteries are empty. One more pro tip: Take a laptop and external hard drives with you, so you can back up and preview your footage during breaks. Depending on how you arrange your shoot, masking tape, gaffer tape, and a mobile "mini-makeup department" with tissues, cotton pads, and a few styling essentials can come in handy.
Next article >
Artist Interview: Pawel Piatek
< Previous article
Interview with Eckhard Stoll - the man behind multicam mode