Table of Contents
Have you ever dreamed of flying to the moon, having a romantic dinner on the rooftops in New York, experiencing a dream wedding or fighting a wild creature in a heroic battle scene? Then, the time has come to learn more about green screen video and make your dreams come true.
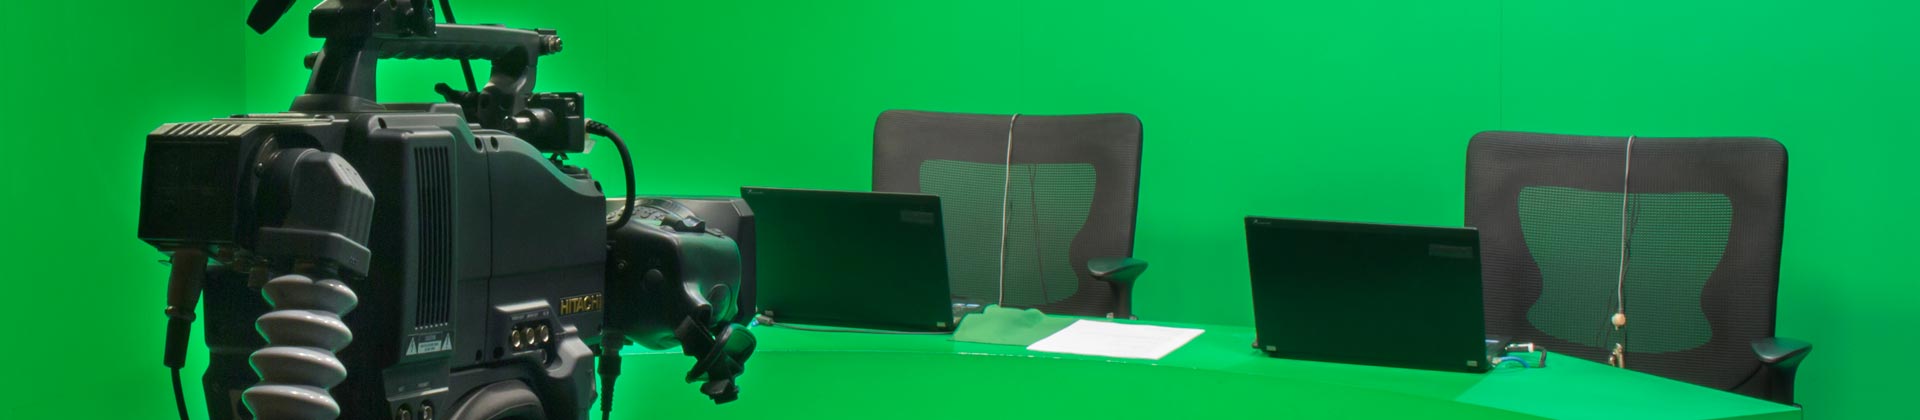
The idea behind the green background
Green screen video production and color-based image separation (chroma keying) has become an integral part of the modern film industry. In principle, anything with a specified color is replaced with a new image. Many special effects or backgrounds such as actual film footage or computer-animated graphics can be integrated into a scene afterwards.
All it takes is an empty "stage" and a green background to transport the action in a scene to another place. But it is also possible to remove objects from a film using green screen effects. For example, a certain part of a body can be covered in green to fake an amputated leg. Green screen video make it even easier to create breathtaking shots and images while keeping production costs low. Finally, subsequent alterations in the film can be easily implemented during post production.
What you need to consider when filming
First of all, you have to plan in advance in which scenes and when a different background should be used in the video, so that everything can be prepared. This is where storyboards or scripts can help to keep organized.

Background knowledge: Why is a green screen green?
Green is the least abundant hue in skin pigment and thus stands out the most clearly from human skin tones. The same effect can be done using blue.
It is possible to use a blue sky as temporary background for the video – in essence, as a natural blue screen. If you are in front of the camera in a green monster costume, it is also possible to use red for the chroma key effect.
Background material and lighting
No matter if your green screen is made of paper or fabric, you need to make sure that it has an even color tone and is as matte as possible. For a homogenous picture without any shadows or distortion, it is important to evenly light the green screen. However, you should avoid shining any excessively bright spots directly on the screen, because the light could outshine the solid green background. The green screen will then appear white and be very difficult to remove afterwards. Overly bright lighting can also lead to so-called "spill" on skin, hair or light-colored clothing. This will make a green border visible. To avoid this problem, you should place black cloths at the sides and below the area you're filming. These reduce the risk of spill because they absorb the light.
In principle, however, both the green screen and the subjects in front of the camera should be evenly illuminated, as they will stand out better against the background in the video. If, however, shadows should be visible in the scene, it is best to create them directly on any objects or subjects in front of the green screen while filming. This will yield a more natural-looking shadow. The same is true for the scene's lighting. The light should be chosen to create realistic lighting conditions depending on which footage will be added to the scene afterwards. Try to avoid reflecting objects in the picture, for example glasses, helmets and visors. Otherwise they might disappear almost "magically" due to chroma key editing.
When shooting scenes that take place in daylight, it is advisable to use a green background. If you have any green spill, the green edges that are hard to remove will blend more easily into the bright light. In scenes that are shot in the dark, it is possible that the green color around the edge of any objects that should be removed is more visible than blue. In both cases, the foreground and background can be easily and accurately removed in post production using the green screen editor in Video deluxe Plus. In only a few clicks, you can create impressive videos that will delight your audience.
Take advantage of the creative possibilities with green screen video & chroma key.
Utilize the creative possibilities of green screen recording in your next video project. Regardless of whether you want to combine multiple shots into a single project, add a colored background to a portrait, or create special effects with different media, our powerful and versatile tools will help you bring your creative visions to life.
Keep in mind that chroma key and green screen are two sides of the same coin! Get a quick impression and learn how to edit "Green Screen" video like the professionals using this step-by-step guide.
Working with green screen software
Avoiding problems during post production
After the film has been shot, the work begins using the green screen software in post production. This software subtracts the blue and red channels from the solid green background in the video. This makes it possible to add the new content as a background.
The last step in video production is compositing. In this stage, individual images, also known as frames, and visual elements are combined to form the complete picture. By means of precise work, the transitions between foreground and background can be made smooth and realistic in their perspective. This way the audience won't notice the "composited elements" in the picture. One frame is usually 1/24 of a second in a film. This means that one second of film consists of 24 frames. Cropping and keying produces a blank space into which any image (including actual film footage or animations), text or elaborate computer effects can be added. Then using the green screen program, this can be combined with other footage to create a film that meets your creative visions.

You will likely have plenty of ideas for your own projects using a greenscreen. With Video deluxe, you can make these ideas a reality.
Green screen (chroma key) software
Start download

