
How to Record and Edit Your Own Music
– here's how it's done.
Would you like to record and edit your own music? Keep reading to find out how.
- Download Music Maker Free, install the free program and start a new project.
- If you want to immediately start on an audio recording without any backing music, continue reading at the next point. For instrumental accompaniment, use the included Soundpool samples in the right area of the program interface. Click the "Loops" button to access the included Soundpool loops. Next, select the drums and drag the sample onto any track. Use the spacebar to start and stop playback in the arranger. The yellow playback range above the tracks will be played in an endless loop. Next, combine your drum sample with other samples from different instrument categories, e.g. a bass. Any object in the Arranger can be easily dragged out (and looped) using its rear handle. This allows you to quickly compose a long accompaniment, for example made up of drums, bass and piano samples, and use it for your personal music recordings.
- To record your own music using a microphone, click the red button on the left in the track header of any empty track until it says "AUDIO REC". This indicates that the track is now in a recording mode for microphone recordings. It is best to use headphones so that you can hear the other tracks while recording without them being picked up by the microphone. Start the microphone recording by clicking the red button on the transport bar. Play your instrument or sing into the microphone. At the end of your recording, click on the Stop button in the transport control. This will cause a large audio object to appear in track. To perform additional microphone recordings, for example with more voices or instruments, switch a different track to recording mode and start recording again. Audio will now be recorded in the new track while all other tracks are played back.
- To record in Music Maker using the included software instruments, perform a MIDI recording. Click on the instrument icon on the left in the track header and then select a software instrument: Choose from "Vita LE" for acoustic drums, "Revolta" for electronic basses and synth sounds or "Grand Concert" for high-quality piano sounds. Then, click the red button in the track header until "MIDI REC" is displayed. This indicates that the track is now in a recording mode for MIDI recordings. Start a MIDI recording (the same way as the aforementioned audio recording) using the transport control and play the software instrument with the computer keyboard or using a MIDI keyboard. This will create a MIDI object that contains the notes you played.
- There are several ways to edit your recordings. Afterward, you can edit and add effects to all your recordings. To place a cut, move the playback marker at the desired position and use the keyboard shortcut "T". You can simply delete cut passages from the arranger and drag the remaining objects together to close the gaps. Create fades on the upper object edges by moving the fade handles inward. If you want to apply effects, use the object effects below the arranger. Click on the FX button in thetoolbar to open the object effects. Or use the track and master effectsaccessible in the mixer ("M" key). This is also where you can mix your the volume and stereo panorama of your tracks.
- MIDI recordings of software instruments (see point 4) can also be edited in more detail using the MIDI editor. Open the MIDI editor by double-clicking on the MIDI object. Here , there is a matrix which allows you to delete the recorded notes completely, as well as correct their pitch or bar position. You can insert new notes using the pencil tool.
- Finally, export your recorded and edited music as a WAV or OGG file in the "File" menu.
Record and edit your own songs
You can record your own music on the PC, for example, vocals or instruments such as guitar or piano. Or play software instruments like synthesizers, drum machines, or samples with acoustic instrument sounds that sound just like the original instruments. In actual fact, you can play all kinds of genres on instruments from a concert grand piano and African drums to contrabass! You'll be amazed how lifelike these "natural" instruments can sound. Or simply compose your music from samples using the mouse.
Music Maker Free includes hundreds of samples with all kinds of sounds that can be combined using drag & to create new songs, software instruments to play on your MIDI keyboard or directly on the computer keyboard, high-end effects, as well as mixing and mastering tools – and the basic version is completely free. Music Maker enables those who want to make their own music overcome all technical and musical hurdles. Just go with your instincts and make great music. Select matching loop objects and use them to create a backing track for your vocal recordings., for example. Play the included software instruments using your computer keyboard or use the mouse to quickly build beats in the MIDI editor.
All you need to record vocals and accompanying instruments is a normal sound card like the ones installed in every computer. After recording, you can then add the final touches to the whole thing with mastering effects such as equalizer or compressor, and mix your tracks with the built-in high-end mixer to produce a perfect song.
In this guide, learn how to record your own song on a PC, how to edit your music and how to enhance your music-making skills. Here are the basic steps:
- Download Music Maker Free. You can use the basic version for free and for an unlimited time as well as upgrade it with additional sample collections, software instruments and program features as needed.
- Double-click the installation file you downloaded to install the software.
- Start Music Maker and create a new project using the start dialog.
Then, you can start to record your own music CD.
Record and edit your own music with Music Maker Free

Create your own songs using loops
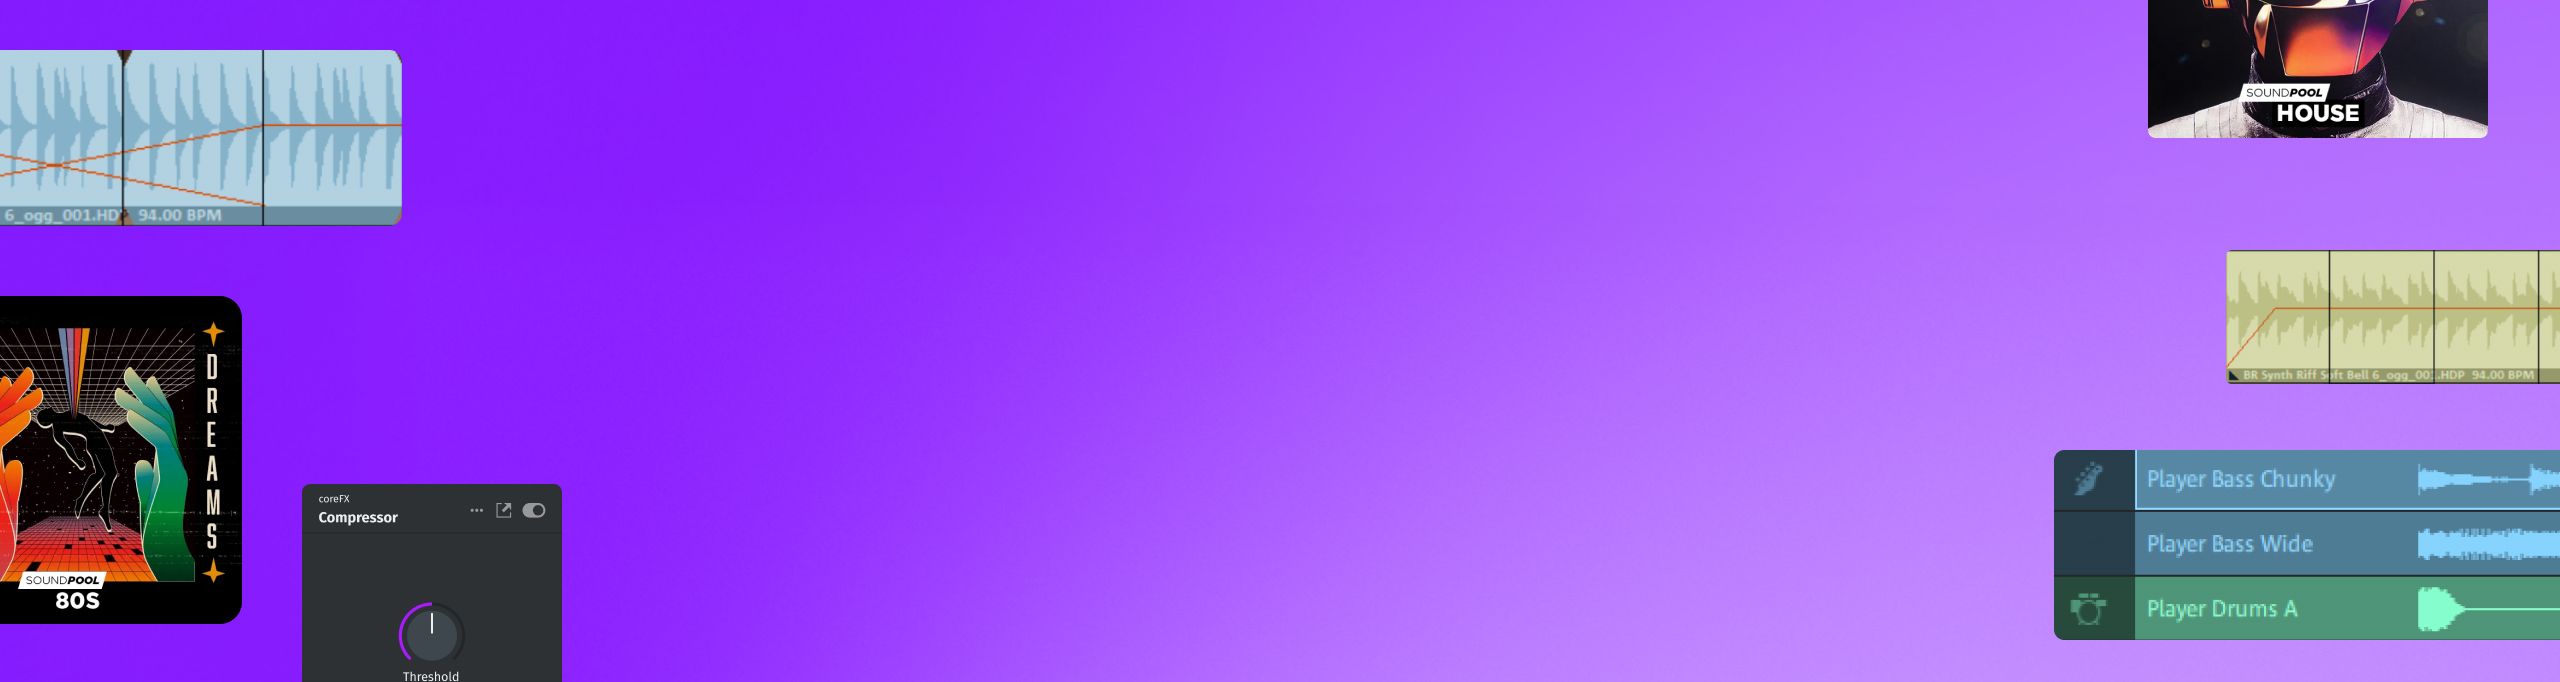
The free version of Music Maker comes packed with hundreds of samples. Additional Soundpools from a variety of genres can be purchased at any time. You can use these Soundpool loops to produce your own songs or simply a basic framework that you can enhance with your own recordings.
- Click the "Loops" tab on the right.
In the beginning, only the free Soundpool "Feel good" will be shown in the Soundpool list, as it is installed with Music Maker Free. To the right, the available instrument categories in the Soundpool can be selected. For "Feel good", the instruments are "bass", "brass", "drums", "FX" etc.
In the list below, you can choose the loops. In the "Bass" category, for example, the choices include "Right Bass" (in the variations A-C), "Right Sub Bass" (in the variations A and B), etc.
- Click on a loop to begin listening to a preview.
- To use the loop, drag & drop it to the arranger.

It works like a musical puzzle: You drag matching loops onto the different tracks to create your own music. You should keep a few things in mind, though:
- It's probably best to start with a drum track.
Select a drum loop on the right and drag & drop it to the arranger on the left. In general, a drum loop can be positioned anywhere. Normally, it's easiest to just place the drum loop on track 2 below track 1, the track marked "Piano default".
Each loop is designed in a way that it can be played it over and over again without any gaps or crackling. If you move the mouse to the back edge, the mouse pointer will turn into a double arrow. You can now click and hold the double arrow to drag out the section. It will then continue to play as a "loop". You can also use the same method to trim the loop and make the beginning shorter.

Above track 1, you can see the playback range. The default length is 16 bars long. This range will be played back as a loop. The 16 bars aren't enough to make a complete song, but it's long enough to work with to create the first section. Now, you can shorten or lengthen the playback range from that point to the desired length.
- Create a bass track. Select a bass loop in the Media Pool and drop it onto track 3.
Drums & bass provide the musical backbone for many songs. Every tonally-based loop can be set to seven different pitches. You can change the pitch by clicking one of the seven pitch buttons above the loop library. This is not possible with drum loops, because drum sounds don't have a specific pitch.
Now that you the basics of making your own music on the PC under your belt, you can add as many loops as you like from other instrument categories to other tracks.
Tip: If you only want to create a background arrangement for your recordings, don't use too many different instruments in order to keep the sound from becoming too crowded. Often, drums and bass (and in some cases even a third instrument) are enough.

Recording instruments and vocals
To record your own music with live vocals, an instrument or a complete band, do the following:
- Connect a microphone to the microphone input of your computer. You can also use the built-in microphone on your computer, however, it will not provide particularly high-quality recordings.
- Switch an empty track to mode for a microphone recording. If required, you can add additional empty tracks from the menu under "Edit". Click on the red recording button on the left side of the interface in the track header until "AUDIO REC" appears.
- To use an existing arrangement as accompaniment, you should put on headphones so that the other tracks are not picked up by the microphone.
- Start the audio recording by clicking on the red record button in the transport control.
Now, the recording will start and you can begin your performance. During the recording, a sound block will be created that will become increasingly longer as the recording continues.

- When you're finished, click on the stop button.
To retry the recording in the case that something went wrong, simply click the red record button again. The recording will start again and the previous, flawed take will be overwritten.
This can also be done to record several takes one after the other. For example, first record your accompaniment instrument like a guitar or piano, then switch another track into "AUDIO REC" recording mode and record your vocals in the second run. To hear the backing instruments while singing, use headphones.

Record software Instruments
Similar to Soundpool loops, the software instruments are based on short musical recordings ("samples"), but they are employed differently. They can be played like a normal keyboard instrument using the computer keyboard or, preferably, with a MIDI keyboard. Alternatively, you can use the MIDI Editor to program melodies note by note. This is particularly useful for drum beats, where every beat should sit in a specific place.
- Click the "Keyboard" tab under the track window.
At the bottom of the interface, you'll see a large keyboard with a piano keyboard. This controls the software instruments. The default instrument sound is a concert grand piano.
- Click once on the keyboard to activate it.
Letters and symbols will now appear on some of the keys. These keys indicate the associated notes on the computer keyboard. You can press several keys simultaneously to create a chord.
- You can play the normal C major scale using the top row of your computer's keyboard (starting on the left with the letter "Q" and ending on the right with the "[" symbol). It is the easiest to use this row of keys to play melodies when starting out.
Through trial and error as well as a little practice, you'll learn to play instruments with dynamically and accurately on the computer keyboard.
To record your playing, you need an "armed" MIDI track, on which you wish to record. Track 1 is set up for a piano recording by default.
- Click on the red recording button on the left side of the interface in the track header of track 1 until "MIDI REC" appears.
- Click on the red "Record" button in the transport control.
Now, a MIDI recording will start.
This recording process works the same way as recording audio, as described above.
Along with the piano sound of "Concert Grand", two other additional instruments are available to play in Music Maker Free: "Revolta" and "Vita LE". The Revolta is a classic synthesizer with many setting options for electronic basses and sounds, whereas Vita LE is a universal sampler and provides sounds for an acoustic drum set in Music Maker Free.
To play the Revolta, the easiest way is to click on the instrument icon on the left in an empty track and select the Revolta. A large, independent Revolta user interface with a number of creative possibilities to modify the sound will appear.
- Press a few keys from the keyboard window to preview the sound.
- Open the Revolta dropdown menu and switch to another sound preset.
Instead of soft atmospheric sounds, you might now hear a snarling synth bass. Any number of experimental sounds are possible using Revolta.
- To record the Revolta, switch the Revolta's track to MIDI recording mode as described above for the piano and begin recording.

Program beats using MIDI
As mentioned before, it's best to program drum beats within the MIDI editor. In most cases, this is easier and more accurate than recording sounds live. To test it out, use the acoustic drum set in "Vita LE".
- Insert a new, empty MIDI object from the "Edit" menu.
Here, you can choose from multiple types. One bar length usually is enough to get started.
- Drag the empty MIDI object to its own track.
- Choose the synthesizer for this track. To do this, click on the icon in the left of the track header and select "Vita LE".
- Set the playback range so that it is exactly over the MIDI object and will play the entire length of the object as a loop.
- Double-click on the empty MIDI object to open the MIDI editor.

The MIDI Editor is a custom user interface for all software instruments. This is where you program your beats, melodies and chords.
On the Vita, you'll find the kick drum on the left side of the piano keyboard in the "C1". The snare is two rows above that.
- At the top of the MIDI editor, switch to the pencil tool.
- Click in the rows of the matrix to create MIDI notes.
- Press the spacebar to preview your work.
The bar will loop, so you can listen to what you have drawn in an endless loop. Press the spacebar again to stop playback.
To get an idea of the sounds that the current synthesizer has to offer, simply drag one of the notes up and down. For every row in the table, the corresponding sample will be played. For example, the snare is two rows above the kick drum.

Mix several tracks and apply effects to your music
At the latest by the end of production, it is essential to employ the mixer in order to balance the volume levels of the individual tracks and prevent a muddy sound.
- Open the mixer by clicking on the mixer button (or simply pressing the M key).
There are volume controls for each channel and a stereo panorama knob to shift the respective track to the left or right.
- The FX buttons open the track and master effects. You can access an compressor, two different equalizers, a stereo processor, reverb and echo here. The effects bank may expanded anytime with additional effects such as flanger, chorus distortion and filters.
If you want to accentuate a track in the mix a bit more, it is most effective to do this indirectly by lowering all other faders except the channel that is too quiet. The opposite approach could result in clipping in the mix.
Another way to accentuate a particular instrument in the mix is by using a compressor.

Duplicate music objects and export files
Now, you can expand upon the first bars of your arrangement step by step to create a complete song. In addition to looping, duplicates are particularly helpful here. Every duplicate contains the original sound, but can be varied in any way, unlike looped passages.
- To create a duplicate, hold down the Ctrl key, click on an object and drag the duplicate to an empty area.
The duplicate is completely independent of the original, i.e. you can edit it without affecting the original, for example shorten it to create a break, or distort it with effects.
A second important technique for expanding on your first musical "riffs" is grouping. You can combine as many objects as you like into a group. This group can then also be duplicated and modified with a mouse click, just like a normal object. This allows you to quickly create more complex song structures like verses or choruses.
- Select all objects that should belong to a group. Click on the objects that are grouped together while holding down the Ctrl key, or use the mouse to draw a rectangle that encloses all the objects.
- From the menu, choose "Edit" > "Object" > "Group" > "Group objects" or simply press the keyboard shortcut Ctrl + G.
This enables you to quickly edit the first bars of your own music into the desired length. As you continue, you can add other elements to your music, for example vocal recordings, melodies using the software instruments or other Soundpool loops.

Once you've finished producing your music, you can export it directly as a WAV file or in the compressed format OGG.
- Choose "File" > "Export" and the format you want.
- To export only the current playback range under the yellow bar, select the "Only export the area between the start and end markers" option in the export dialog.
During export, all tracks in the arranger are mixed down together with all effects and mixer settings into one "proper" audio file. The final result will sound exactly the same as when played back in Music Maker.

Add-ons for the program
Now, you've learned about the essential functions for recording and editing your own songs. But Music Maker has much more to offer. The basic version of Music Maker Free can be expanded with additional content from the Store, which can be accessed from directly within the program.
As well as further Soundpools and software instruments, you'll also find a number of different professional effects and additional program functions that you can purchase and immediately start using in Music Maker. This will help you to develop musically over time.
- Click on the "Store" tab in the Media Pool.
- Sort the items using the drop-down menu.
- Browse through the products offered. Click on an item for more information.
- Click on "Purchase" and follow the instructions provided.
Tip: Sort the products by price to display the free offers at the very top. All you have to do is register as a MAGIX customer to get free products.


Start your music
journey today
Create songs with loops, experiment with effects, and push
your creativity – all in MUSIC MAKER Free.