Cutting music tracks and other audio files
– here's how it's done.
Want to know how to cut songs and other kinds of audio files? Keep reading to find out how.
- Download Music Maker Free, install the free program and start a new project.
- On the right, switch the Media Pool to the "File manager" via the menu under "View" > "Window" > "File manager" and load an audio file for cutting. Simply drag & drop it by moving it onto any track.
- Place the playback marker on the part of the recording where you want to cut. To do this, click inside the timeline above the first track.
- Press the T key. This will split the audio file into two sections at the position of the playback marker.
- Trim the end of the section too and then delete the cut passage from the track.
- If you need to, you can adjust the cut edges by moving together or dragging out the remaining sections at their object edge. You can trim any other remaining audio in this way, or restore sections that were accidentally deleted.
- Close the gaps created by the cuts you've made by moving the audio objects together on the track.
- If you hear crackling at the border of an audio clip, you can simply fade it out. To do this, drag the upper object handles slightly inward to create a smooth fade-in or fade-out.
- You can also load more audio files and cut, move and merge the audio objects in the tracks any way you want.
- If you'd like to modify the sound of your audio material further, you can add effects – for instance, create a realistic room sound using the reverb effect.
- To finish, export your project as a WAV file or OGG file in the "File" menu. The trimmed audio file will sound exactly the same as the project when played back in Music Maker.
Audio cutting on PC
Whether you're making music, putting together a podcast, or optimizing a voice recording or another kind of audio file, cutting is one of the most commonplace and important tasks in audio editing. The start or the end of the recording is often not perfect and needs to be cut. Alternatively, you might want to remove noise from a middle section or gently crossfade several music tracks into each other.
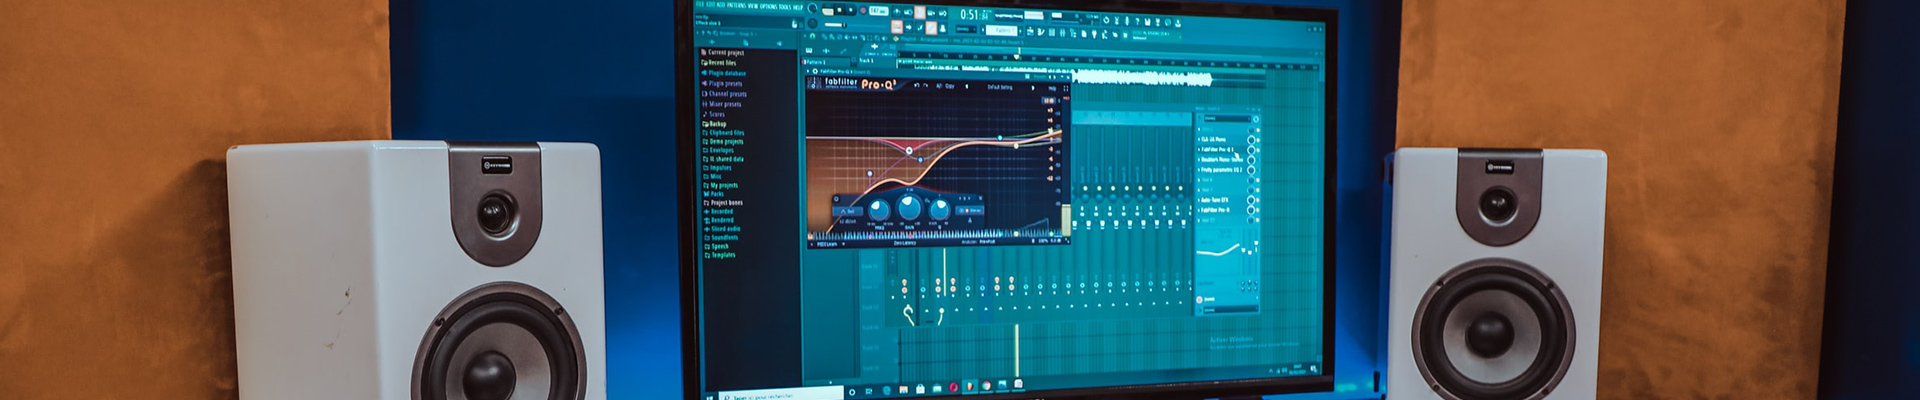
For all music cutting tasks, audio software Music Maker is the ideal tool. With Music Maker you can trim audio files in a particularly simple and intuitive way and access all the essential optimization tools and sound effects to improve the sound of your tracks. In addition to straightforward cutting functions, Music Maker offers professional effects for enhancing and freshening up your sound. Use the virtual mixer to mix together multiple recordings or arrange them one after the other to balance your individual audio files in terms of volume or stereo panorama.
In addition, there are lots of additional creative possibilities for music production if you need them – easily drag & drop to combine sound loops to create your own songs, or play the software instruments on the computer keyboard.
Music Maker is a complete virtual recording studio for the PC. The basic version of the software is completely free and can be used for an unlimited period of time. In this article, we'll show you step by step how to cut an audio file, merge it with other audio files and edit it in various ways.
Easily cut and join audio files and songs

Audio cutting – the first steps
First, download Music Maker Free – the free program version of Music Maker – and double-click the installation file to install the program. Open the program and create a new, empty project. Then load your song or audio file into the project:
- Open to the File manager from the menu under "View" > "Window" > "File manager" or by clicking the File manager button in the toolbar. This will open the File Manager in the Media Pool (the area to the right of the Track window).
- Go to a folder containing the audio file and drag & drop it on any track.
- Play the file. Pressing the spacebar is the the easiest way to do this is. Press it again to stop playback.
- Click in the timeline to move the playback marker to any position.
Now, you're ready for music cutting.

Cutting and deleting part of an audio file
Sometimes you need to delete a section from an audio recording because it contains only silence or noise, or because you need to make the recording shorter. Music Maker lets you cut a recording easily and precisely.
- Simply place the playback marker at the beginning of the passage you want to cut.
- If necessary, zoom in to see the passage in the waveform better.
There are several options for zooming:
- You can use the buttons in the lower right corner of the track range to zoom in horizontally and vertically.
- The scroll bars can be moved together or dragged apart for zooming. Move the mouse to the edge of the horizontal scroll bar until it turns into a double arrow. You can now hold down the mouse button to move the bars together and zoom in to the display.
- Zooming is even easier if you're using a mouse with a mouse wheel. Just hold the Ctrl key and the shift key while using the mouse scroll wheel to zoom.

You can use the waveform display for this task. Loud noise can be identified by the high peaks visible in the waveform. A section with silence appears flat in the display. When a point where you want to make a cut is clearly visible, place the playback marker just in front.
- Press the T key.
This will split the audio object into two independent parts.
- Now zoom out until you see the end of the passage you want to cut.
- Move the playback marker there, zoom in again a little and place the playback marker as precisely as possible at the point where you want to trim the end of the audio passage.
- Press the T key again.
You have now cut out the passage at the front and back.
- Zoom in so that you can see all three sections – the beginning of the audio object, the middle part and the part at the end.
- Click on the middle passage to select it and then delete it from the track with the Del key.

There are now only two audio objects in the track. First check the edges of the audio file you cut, beginning with the cut end of the object on the left, then the beginning of the object on the right. Did you get a clean cut of the track? If not, you can drag accidentally removed material back out of the object or simply trim the rest of the audio file:
- Move the mouse to the cut edge of the object on the left until it turns into a double arrow.
- Click and drag the section you cut out a little. On the other hand, if you have cut away too little, drag the object edge to the left until the passage is completely trimmed away.

If the recording crackles or pops at the beginning or end of a clip during playback, you can fade out the audio to remove the crackling noise:
- Move the mouse pointer to the right-hand corner of the audio object.
- Click and move the top object handle inward.
Repeat these steps for the start of the clip on the right too until the cut sounds clean.

- Move the two cut audio objects together to close the gap in the track.
The crackling section can now no longer be heard during playback and the front object fades seamlessly into the one on the right.
Continue working in this way to trim any similar sections from your audio file.

Cutting and merging multiple audio files
Now let's talk about doing things the other way round – where you don't want to cut an audio file passage, but insert one. This can be done by either attaching additional audio files to the right of the object, e.g. to create a song compilation, or by embedding new material in an existing recording.
Music Maker makes it easy to do this too. You more or less proceed as illustrated above.
Here are the steps to take:
- Drag & drop all the audio files you want to combine from the File Manager into the project window. Zoom out and enlarge the track view to make positioning the files easier.
- Arrange the audio objects horizontally and in the correct order.
You can either drag all audio files to the same track or use a separate track for each audio file. If you are merging different audio material from a range of sources, it's better to use a separate track for each file. You can then use the mixer afterwards to balance the volume across the tracks.
Once you have created a basic arrangement for the audio files, you can start to make detailed adjustments.
- Check that the beginnings and ends of each recording fit together, and adjust the object edges if necessary (see above).
- Move the objects together so that they play smoothly during playback. If you're creating a compilation of songs, it's a good idea to create pauses of 2 seconds between audio files. To change values in the timeline, right-click in the timeline and select "Display milliseconds". This shows you the length of the pauses between audio objects.

- You can also fade several songs into one another like a DJ. If the songs are on the same track, simply move the following object into the one before it so that they overlap. This creates a crossfade, which means that in the overlapping area, the front object fades out and the back object fades in simultaneously.

- If the songs are on different tracks, you can use the fade handles to create a smoother transition between them by fading out the first song quickly and fading in the last song more slowly.
- To merge one audio file with another, you need to split the first audio file. To do this, place the playback marker at the position where you want to spilt the file and press "T". Then move the two new resulting objects apart and drag the audio file with the new material into the gap on the track below. You can then adjust the transition between the objects again using the handles.

Editing and enhancing sound
After you're done with audio cutting, consider whether you need to edit the sound. You can use effects to optimize it or to make significant changes.
Effects may be applied at three levels: To individual audio files, to tracks, or to the master mix.
- In the lower area, switch to the "Object effects" view. To do this, click the FX button in the toolbar.
Here's where you can access a compressor, equalizer, reverb and echo. You can also press the "+" button to access a filter, distortion and the "Vandal" plug-in, a tube amplifier designed primarily for guitars and basses. Vandal can be used to transform innocuous recordings of acoustic guitars into wild, monstrous rock sounds.

- Open the mixer by clicking on the mixer button or simply pressing the M key.
The mixer contains volume and pan controls for each track and additional track effects e.g. for creating a uniform room sound. The track effects can be accessed by pressing the FX buttons on top of the channels.
On the right in the mixer, you'll find the mastering section for controlling the overall sound. The master effects (in addition to the object and track effects) are used for editing the overall sound.
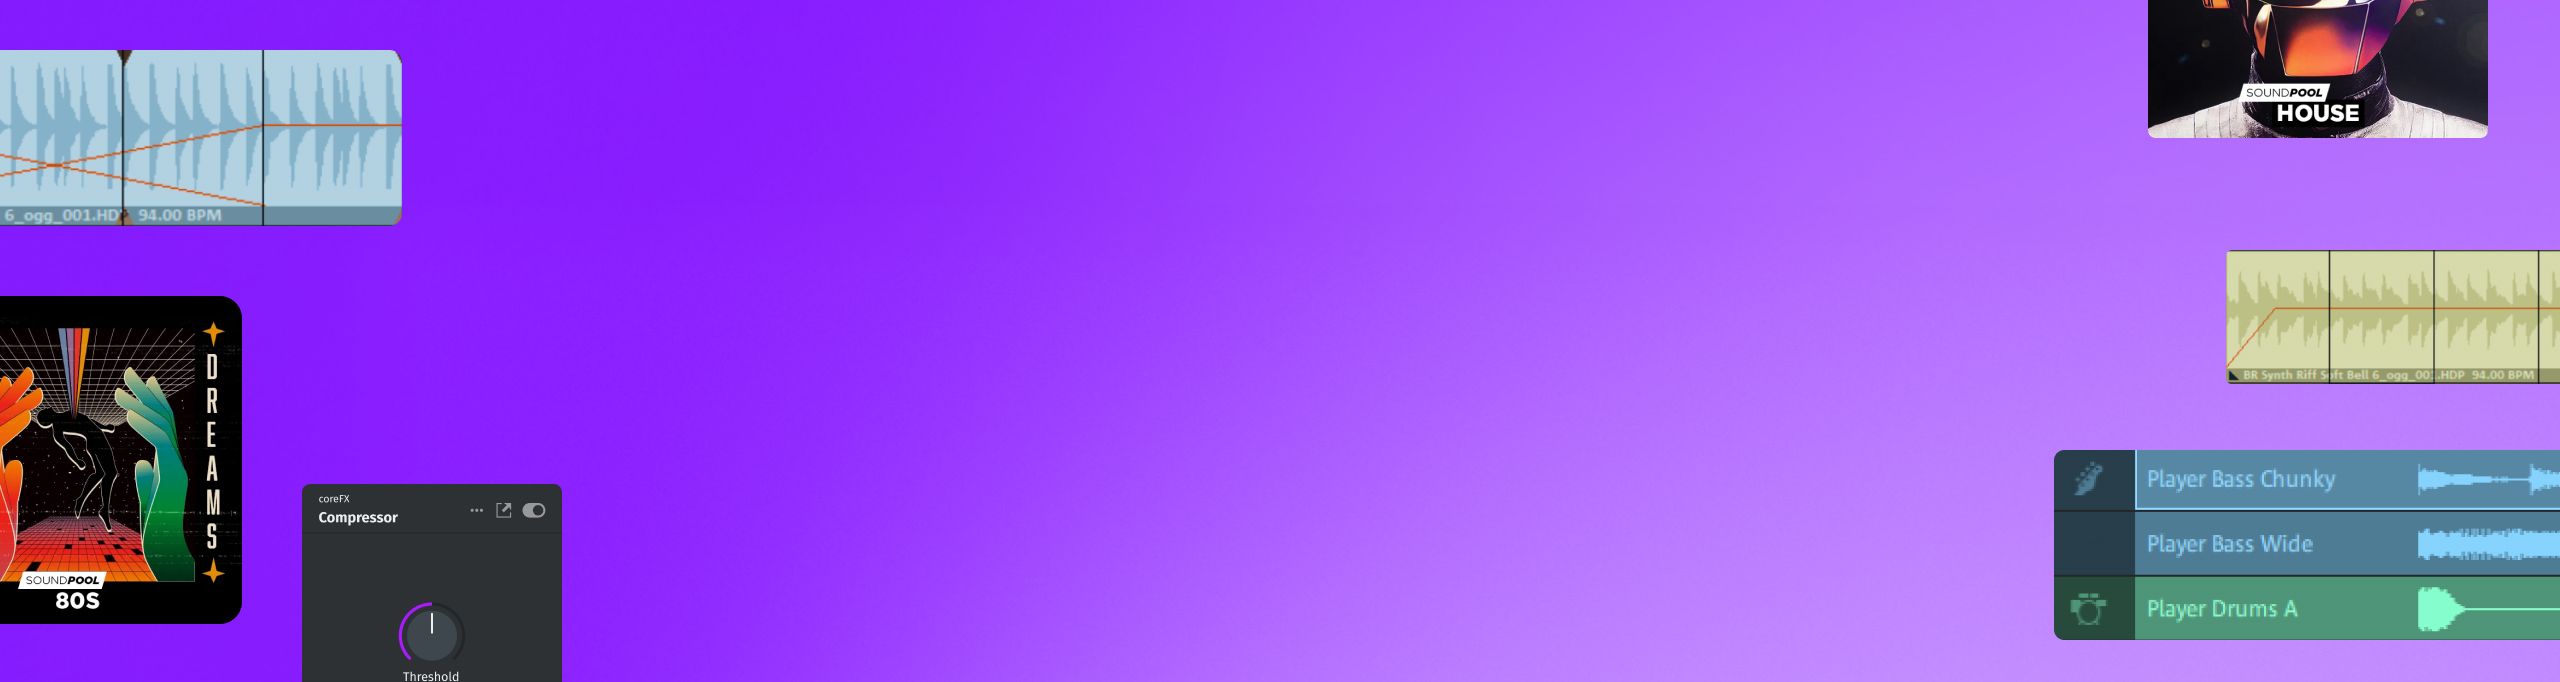
When it comes to creative options for audio editing, that's just the start. Maybe you want to get creative and add more music to your audio recordings or remix them? Music Maker enables you to easily create new beats using Soundpool loops and then combine them with cut audio objects. Alternatively, you can create another layer for an audio file by adding a recording you've made with a software instrument.
- On the right, switch to the "Loops" view in the Media Pool.
- Select an instrument category e.g. drums.
- Drag and drop the loops you want onto any track.
It works like a musical puzzle: You arrange different loops to make your own music. You can drag any of the loops onto any of the tracks and combine them any way you want. The edge of any loop object can be easily dragged out to create a longer track – for instance to turn a single drum loop into a complete drum track.
You can work with the software instruments in the exact same way. To activate the onscreen keyboard below the monitor, click on the "Keyboard" button and then again on the keys. You can now play the instrument. The easiest way to do this is to use the top row of your computer keyboard (from "Q" on the left to the "]"symbol). Using a MIDI keyboard makes things a lot easier. To record your playing, switch the red record button on the left in the track header – this will switch the track to MIDI record mode. Then click on the red "Record" button in the transport control and record yourself playing. The other tracks with the audio files or loops will also play, so you can hear them as you play the software instrument.

Export audio files
Finally, export the cut recording or your own audio productions either directly as a WAV file or in the compressed format OGG.
- Choose "File" > "Export". Here, you will find all the formats available in Music Maker Free.
- If you only want to export one loop or a specific section within a current arrangement in process, activate the option "Only export the area between the start and end markers" in the export dialog. Beforehand, make sure that the playback area is highlighted directly above the loop or passage.
During export, all tracks in the arranger are mixed down together with all effects and mixer settings into one "proper" audio file. In short, the final result will sound exactly the same as when played back in Music Maker.

Add-ons for the program
Now that you've learned about the essential functions to cut recordings or trim wav files, it's time to discover all the other things you can do with Music Maker. The basic version of Music Maker Free can be expanded with additional content from the Store, which can be accessed from directly within the program.
As well as more Soundpools and software instruments, you'll also find tons of professional digital effects and other program functions that you can purchase and use in Music Maker.
- Click on the "Store" tab in the Media Pool.
- Sort the items in the dropdown menu. For professional effects and other add-on modules, select "Functions".
- Browse the items – you can click on an item for more information.
- Click on "Purchase" and follow the instructions provided.
Tip: Sort the products by price to display the free offers at the very top. You will not be charged for free items during the purchase process. All you have to do is register as a MAGIX customer.


Start your music
journey today
Create songs with loops, experiment with effects, and push
your creativity – all in MUSIC MAKER Free.