Getting started with music production
– here's how it's done.
Want to learn how to start making music using software instruments? Keep reading to find out.
- Download Music Maker Free, install the free program and start a new project.
- All the included Soundpool loops for your production can be found on the right. Drag & drop a few loops onto the tracks and arrange them into a new song or backing accompaniment for your own live recordings.
- Click in the bottom on the "Keyboard" button to open the onscreen keyboard. Use the top row of keys on your computer keyboard to play. The default is a piano. In the dropdown menu at the top of the onscreen keyboard, you can select another software instrument.
- To record your playing, switch the red record button in the track header to "MIDI REC". This will make the track ready for MIDI recording. Then, click on the red record button in the transport control to begin a MIDI recording and play the instrument. At the end of the recording, click stop.
- To record your own vocals (if you want to produce a song, for instance) or a live instrument, switch the red record button in the track header to "AUDIO REC". Then, click on the red record button in the transport control to begin an audio recording. During your recording, the accompanying arrangement will be played back. It is advisable to use headphones while recording so that the accompaniment will not be recorded as well. At the end of the recording, click stop.
- You can also enhance your music production with high-quality effects, which you can access above in the toolbar by clicking on the object effects and the mixer.
- Finally, export your music as a WAV or OGG file in the "File" menu.
How to start making music using software instruments
It is difficult to learn how to play an instrument; it is likely impossible to master all instruments. Nevertheless, you can move a considerable step closer to this dream using the modern music software Music Maker. That's because the software instruments in Music Maker can all be played in the same, simple way: either easily and intuitively using your computer's keyboard or more dynamically and emotively with a MIDI keyboard. The software instruments sound as natural as the originals, because they are not based on simulated sounds, but rather on high-quality, 24-bit original recordings.
The software instruments cover the full musical spectrum: Pianos, organs, woodwind instruments (e.g., flute, bassoon and oboe), "brass" e.g. trumpet, trombone, saxophone, bass tuba, etc.), strings (e.g. violin, viola, cello, etc.), acoustic and electric guitars, basses as well as percussion instruments ranging from complete drum sets to African drums. And if you're a fan of electronic music, techno beats or atmospheric synths, you're sure to find instruments that inspire you.
The included loops in the Soundpools offer an alternative solution for music production. They are not played note for note like a software instrument, but are arranged like building blocks using drag & drop. It is almost impossible to do anything wrong, because all the loops automatically fit together.
Both production methods, direct instrumental performance and loop-based music production, can be perfectly combined. Learn how it's done in this step-by-step guide.
How to produce music using your mouse, keyboard and MIDI keyboard
The PC revolutionized music production, with Music Maker playing a major part in digital production right from the start. This successful music maker program has been regularly updated and developed for more than 20 years. Today, Music Maker is an all-encompassing, modern platform for musical enthusiasts and professionals alike.
Music Maker offers everything you need to produce music in the form of two basic methods: one is loop-based production, which uses the mouse to arrange samples into songs. The other is playing using software instruments, which is done using the computer keyboard in its simplest form, but made more enjoyable and musical with a MIDI keyboard.
For getting started with music production, you don't need any previous experience and you don't have to spend any money: the most basic version of Music Maker is free and offers unlimited use. This allows you to try out how to produce your own music using a mouse, keyboard or MIDI keyboard.
Here's how to make loops:
- Download the software.
- Double-click the installation file to install the program.
- Start the program and in the start dialog, select the option "Play instrument".
Afterwards, you're ready to start producing your own music. Let's begin by learning about software instruments.

Using software instruments to produce your own music
The first option for making your own music on your PC is to play the included software instruments. These instruments are based on short musical samples and are played using the computer keyboard or, if you prefer, by playing a MIDI keyboard in the same way as any keyboard instrument. Alternatively, melodies or chords can be programmed by clicking the mouse to draw notes in the MIDI editor and/or corrected there later.
- Click the "Keyboard" tab.
Now, you'll see a large keyboard with a piano keyboard at the bottom of the interface. This controls the virtual instruments.
Letters and symbols will appear on some of the keys. These keys can be played using the corresponding keys on the computer keyboard. You can press several keys simultaneously to create a chord.
You can play the normal C major scale using the top row of your computer's keyboard (starting on the left with the letter "Q" and ending on the right with the "[" symbol). It is the easiest to use this row of keys to play melodies when starting out.
Through trial and error as well as a little practice, you'll learn to play instruments dynamically and accurately on the computer keyboard.

To record your playing, you need an "armed" track, on which you wish to record. On track 1, everything has been set up properly. This is shown by the red "MIDI REC" button on the left side of the track header.
- Click on the red "Record" button in the transport control.

Now, the recording will begin on track 1. During the recording, a sound block will be created that will become increasingly longer as the recording continues.
If you click the "Record" button again, the playback marker will jump back to the position where it started. The recording will start again from the beginning and the previous take will be overwritten.
- Play a piano melody on the computer keyboard.
If you make a mistake, simply click on the red "Record" button and begin the recording again.
- When you're finished, stop the recording by clicking the "Stop" button in the transport control.
Now, you will see your recording in track 1 and can play it back.

Additionally, any MIDI recording can be edited in various ways retrospectively. You can add missing notes and change the existing notes, for example, to correct the pitch or rhythm, and even program completely new parts. This is the purpose of the MIDI Editor.
- Double-click on the MIDI object in the track to open the MIDI editor.
Here, you will find all recorded notes. You can select and adjust any note in the grid. Simply click on a note and move it horizontally to change the pitch or vertically to change the timing. A note's duration can also be shortened or lengthened by clicking on its ends. Simply use the pen tool to insert additional MIDI notes.
Working with the MIDI editor and learning the many settings available takes time. For a start, it is enough to become familiar with its basic functions.

Editing recordings of instruments
You have now used a software instrument to create a MIDI recording that has a few distinctive characteristics compared to a normal audio recording. In a MIDI recording, the sound was not recorded using a microphone, but by using only control commands that were processed by the selected synthesizer. Your synthesizer is the software instrument you just used to make the recording – for instance a piano.
But perhaps you'd like to hear how your melody would sound on a different instrument? You don't have to play it again to do that. To change the instrument, simply open the dropdown menu above the keyboard and select a different instrument.
In addition to the "Concert Grand", the free version of our music maker program currently offers two other instruments to choose from: "Revolta" and "Vita LE". Revolta is a classic synthesizer with many settings for typical synth sounds, while Vita LE offers acoustic drums.
- Open Revolta to try it out.
A large, independent user interface will appear, which offers a number of different possibilities to modify the sound.
- Press a few keys on the computer keyboard to preview the sound.
- Open the Revolta dropdown menu and switch to another sound preset.
This completely changes the sound – instead of a dirty bass synth, you'll now hear atmospheric electronic sounds, depending on your selection. Any number of experimental sounds are possible using Revolta.
- Select a sound preset and play the short arrangement of your MIDI recording.
Now, you will hear the current Revolta sound instead of the recorded piano sound.
You can use this process to preview the same MIDI recording played by different software instruments.

Additionally, any MIDI recording can be edited in various ways retrospectively. You can add missing notes and change the existing notes, for example, to correct the pitch or rhythm, and even program completely new parts. This is the purpose of the MIDI Editor.
- Double-click on the MIDI object in the track to open the MIDI editor.
Here, you will find all recorded notes. You can select and adjust any note in the grid. Simply click on a note and move it horizontally to change the pitch or vertically to change the timing. A note's duration can also be shortened or lengthened by clicking on its ends. Simply use the pen tool to insert additional MIDI notes.
Working with the MIDI editor and learning the many settings available takes time. For a start, it is enough to become familiar with its basic functions.

Getting started with music production using Soundpool loops
Another option to help you produce your own music is to use Soundpools. These can be used to produce music, produce songs, or to arrange an accompaniment with software instruments.
If you started with the "Record instruments" function, the panel on the right offers only enables you to select the VST instruments. You can access the other options for your music production in the "View" menu.
Go to "View" > "Window" > "Loops" to access the Soundpool loops.
- First, delete your first MIDI recording from the track (or mute the track by pressing the "Mute" button so that it does not distract you.)
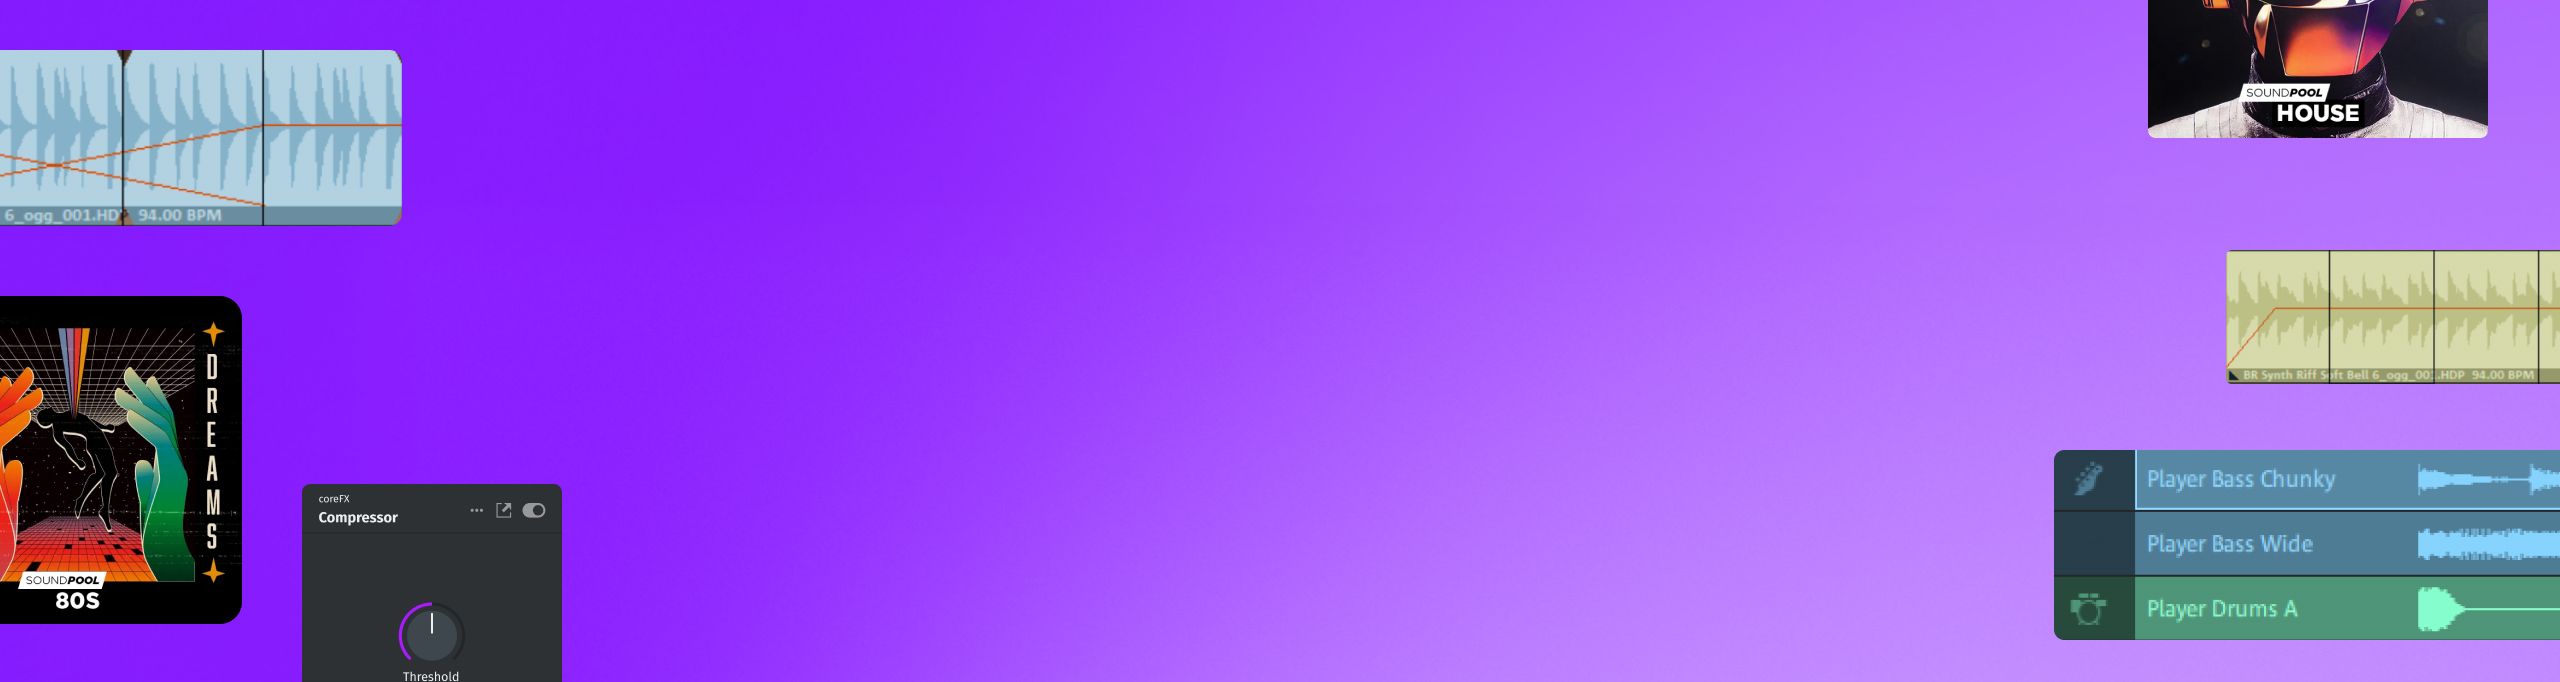
All the Soundpool loops available for your production can be found on the right. In the beginning, only the Soundpool "Feel good" will be shown in the Soundpool list. You can install additional Soundpools at any time and select them here. In the area to the right, you can select different instruments within the Soundpool: For example, "Bass", "Brass", "Drums", "FX", etc.

The list of loops list is below that. Here, you can select one of the loops available. For the "Bass" category, for example, that is "Right Bass" (with variants A-C), "Right Sub Bass" (with variants A and B) and more.
- Click it to play a preview.
- Drag & drop the selected loop at the desired position in the arranger.
It is probably best to start with a drum track. Drag & drop a drum loop in the arranger to the left. In general, a loop can be placed anywhere. However, it is advisable to drag it to track 2 below the top track that is set up for the software instrument "Piano Default". To add variation to the drum track, take a second drum loop and drop it behind the first loop.
Loops are usually quite short. But you don't have to load the same loop several times to achieve the desired length. Move the mouse to the back end of the loop until the mouse pointer turns into a double arrow. Click and drag the loop from that point to the right. Essentially, you can lengthen any loop endlessly, as well as shorten it by dragging the handle to the left.
Afterwards, create a bass track. With drums & bass, you have already created the musical backbone of your song. Add loops from other categories of instruments to the lower tracks if appropriate. Drag each instrument to its own track so that your production remains clearly arranged.
Loops (with the exception of the atonal drum loops) can be set to seven different pitches. You can vary the pitch by clicking one of the seven pitch buttons above the loop library.
Of course, this doesn't result in a perfect song right away. It takes a bit of experience to build a complete song using Soundpool loops. Take a look at the structure of the demo projects. This will give you an idea of how a good song might be arranged.

Recording live instruments and vocals
To record your own vocals or a live instrument with accompaniment from Soundpool loops, do the following:
- Create a backing track using Soundpool loops, for example, with drum and bass loops on tracks 2 and 3.
- Connect a microphone to your computer. You can also use your computer's internal mic, if one is available.
- Switch any empty track to audio recording mode to record audio. To do this, click on the red recording button in the track header on the left side of the interface until "AUDIO REC" appears.
- Start the audio recording by pressing the red record button in the transport control.
During your recording, the accompanying arrangement will be played back. It is advisable to use headphones while recording so that the accompaniment will not be recorded as well.

The mastering process
Once you have finished producing your song with the software instruments, you can start working on the final mix. You have the option of adding effects to change the sound of individual instruments as well as the overall sound.
Effects may be applied at three levels: To individual objects, to complete tracks and to the master mix.
- Switch to the "Object effects" view above in the toolbar.
Here, the compressor, 10-band equalizer, reverb and echo can be found. Press the "+" button to access the filter, distortion and the "Vandal" plug-in, a tube amplifier designed primarily for guitars and basses, but which you can also use to distort your recordings.

Other effects can be found in the mixer.
- Click the mixer button or simply press the M key to open the mixer.
Here, the volume and stereo pan for each track can be controlled. You can also use the FX button to apply track effects, for example a uniform reverb for the drum track.
On the right, you'll find the mastering section for controlling the overall sound. The FX button above the master slider is used to access master effects, which affect the overall sound after the object and track effects.

Exporting your own song productions
Music Maker is not a musical computer game, but rather complete software for music production. This software allows you to produce a song and publish it outside of the Music Maker program. Share them with your friends and then invite them to collaborate on your next production.
When you have finished your first production, export it as a WAV file or in the compressed format OGG and share your audio file.
- Choose "File" > "Export". Here, you will find all the formats available in Music Maker Free. Additional export options, such as burning directly to CD, can be found in the Store.
During export, all tracks in the arranger are mixed down together with all effects and mixer settings into one "proper" audio file. The final result will sound exactly the same as when played back in Music Maker.

Additional tools and features for expanding your music production
You've now learned about the most important functions in Music Maker Free. MAGIX offers lots of other virtual music production equipment for beginners – in the form of software instruments, Soundpools, and program modules that can be accessed via the in-app Store.
- Select "View" > "Window" > "Store".
- Click on an item for more information.
- Click on "Purchase" and follow the instructions provided.
It's a good idea to at least install the free software instruments and Soundpools available in the Store. They're just what you need to start producing music, since they offer a wide range of creative possibilities. The products may be sorted by price, which will allow the free offers to be displayed at the very top. You will not be charged for free items during the purchase process. All you have to do is register as a MAGIX customer.


Start your music
journey today
Create songs with loops, experiment with effects, and push
your creativity – all in MUSIC MAKER Free.